Tools
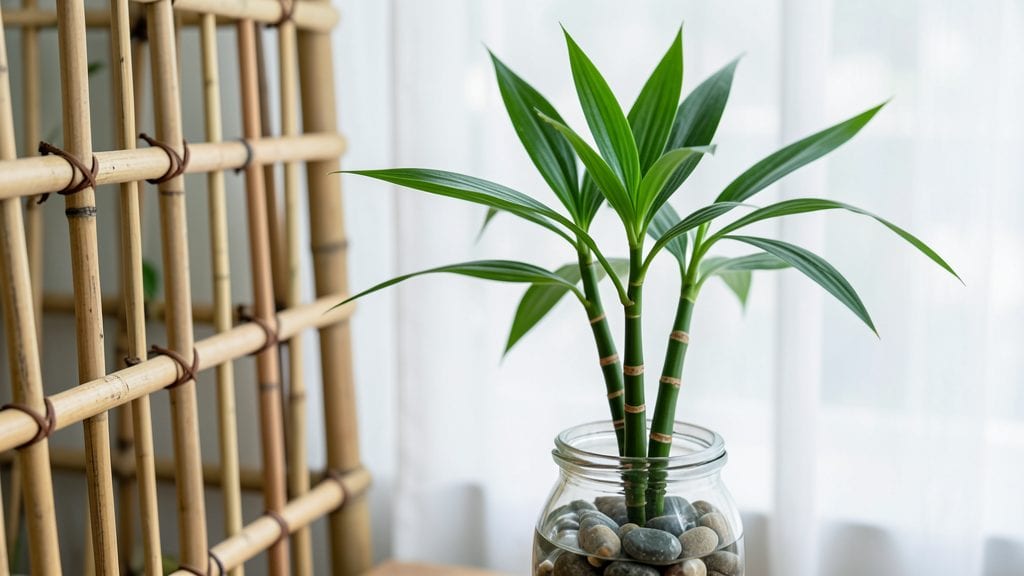
Bamboo garden trellises turn empty corners into lush green walls. 🌿 I’ve used them to train climbing roses, beans, and even morning glories—each one transforms bare space into a vertical garden that feels alive.
The best part? They’re sturdy, affordable, and blend seamlessly into any garden style, from rustic to modern.
You don’t need fancy tools to install them—just a drill, screws, and an hour of your time. Start by choosing a trellis size that fits your space, then secure it firmly into the ground or attach it to a fence.
The lightweight bamboo bends without breaking, making it perfect for winding vines or delicate flowers.
Once your plants start climbing, watch as they create a living tapestry that adds texture and movement to your garden. The trellis itself becomes a decorative element, whether left natural or painted to match your outdoor decor. Plus, it keeps plants off the ground, reducing pests and making harvests easier.
Works for small patios, large backyards, or even indoor growing spots. The possibilities are endless—from a single trellis as a statement piece to a whole wall of climbing plants. Ready to grow upward?
📚 In This Guide
- What you need
- Instructions
- Tips and common mistakes
- Wrapping up and next steps
What you need
- ● Bamboo poles – 6–12 poles (depending on size; 1–2 inches in diameter, 6–10 feet long). Opt for hardwood bamboo (like Phyllostachys) for durability.
- ● Galvanized or stainless steel screws – 10–20 screws (1.5–2.5 inches long) for secure joints.
- ● Concrete or metal stakes – 4–6 stakes (6–12 inches long) to anchor the base.
- ● Heavy-duty zip ties or wire – 5–10 ties (for temporary adjustments or plant support).
- ○ Non-toxic wood sealant (optional) – To protect bamboo from weather and pests.
- ● Measuring tape – For precise cuts and spacing.
- ● Hacksaw or handsaw – To trim bamboo to desired lengths.
- ● Drill/driver – For assembling screws and stakes.
- ● Level – Ensures your trellis stands straight and true! 🎯
- ● Pliers – For bending wire or securing ties.
- ● Safety gloves & goggles – Because DIY safety first! 🛡️
- ● Choose a sturdy location – Ensure the ground can support stakes (avoid rocky or frozen soil).
- ● Check local regulations – Some areas restrict DIY structures near property lines.
- ● Gather inspiration – Sketch a simple design or measure your climbing plants’ mature height!
- ○ Pre-cut bamboo (optional) – If working with long poles, mark cuts beforehand for efficiency.
Step-by-Step guide to building sturdy bamboo garden trellises
Transform your garden into a vertical paradise with these simple, natural supports.
🪴 Step 1: Gather and Prepare Bamboo Poles
Start with 4-6 fresh bamboo poles, each at least 6-8 feet long and 1-2 inches in diameter. Choose straight, sturdy poles with minimal knots—these will form the backbone of your trellis. If your bamboo has sharp edges, smooth them with sandpaper or a file to prevent snagging plant vines.
Soak the poles in water for 30-60 minutes before assembly. This softens the fibers slightly, making them easier to work with and less likely to splinter. Pat them dry afterward with a towel to prevent rot. I like to mark one end of each pole with a pencil so I know which side faces up during assembly.
✂️ Step 2: Build the Trellis Frame
For a classic A-frame trellis, cut two poles into 4-foot lengths for the sides and two into 5-foot lengths for the crossbars. The crossbars should extend 6-8 inches beyond the side poles on each end to create overhangs for climbing plants. Secure the crossbars to the side poles using galvanized zip ties or stainless steel screws.
Stand the A-frame in your desired location and drive two 2-foot metal stakes into the ground at the base of each side pole. Use a level to ensure the trellis stands perfectly upright. If your garden has strong winds, add a third stake in the center for extra stability. I always test the trellis by gently pushing it—it should wobble slightly but not topple.
🌿 Step 3: Add Horizontal Rungs for Vine Support
Cut 8-10 additional bamboo poles into 12-inch lengths for horizontal rungs. Space them 6-8 inches apart vertically along the side poles, starting 12 inches from the base. Secure each rung with 2 zip ties per end, ensuring they’re level and evenly spaced. For a more rustic look, you can weave the rungs between the side poles instead of attaching them directly.
This crisscross design gives vines multiple points to latch onto as they grow. I like to leave 1-2 inches of space between rungs to allow airflow, which helps prevent fungal diseases in humid climates. If you're building a trellis for heavy climbers like grapes or wisteria, add extra rungs every 4 inches for added support.
💧 Step 4: Secure the Trellis and Prepare for Plants
Once assembled, reinforce the trellis by tying the top of the A-frame to a sturdy anchor point, like a fence post or wall, using 10-foot garden twine. This prevents the trellis from leaning or toppling in windy conditions. If you’re placing it in a sunny spot, consider painting the bamboo with a water-based, non-toxic sealant to extend its lifespan—though untreated bamboo will last 3-5 years in most climates.
Before planting, run a twine or jute rope vertically along one side of the trellis. This gives vines an immediate structure to climb while they establish roots. I always plant at the base of the trellis, choosing fast-growing climbers like morning glories, clematis, or pole beans for quick coverage. Water the soil deeply after planting to encourage root growth toward the trellis.
☀️ Step 5: Maintain and Enjoy Your Vertical Garden
Check the trellis monthly for loose ties or splintering bamboo. Tighten any zip ties and replace damaged poles as needed. If vines grow too heavy, add extra support ropes horizontally between rungs to distribute weight. Prune plants in early spring to encourage bushier growth and prevent overcrowding on the trellis.
For a long-lasting trellis, replace bamboo poles every 2-3 years, especially if they show signs of rot or pest damage. With proper care, your trellis will provide years of vertical growing space, turning even the smallest garden into a lush, climbing paradise. I’ve seen trellises like this transform bare walls into living tapestries—it’s incredibly satisfying to watch!
Tips & tricks for perfect bamboo garden trellises
Building a bamboo trellis is easier than you think—these small adjustments will make all the difference in durability and plant success.
Soaking Secret: The 30-60 minute soak in Step 1 isn't just about flexibility—it's about preventing splinters. I've learned the hard way that skipping this step leads to sharp edges that tear plant vines. Use warm water if your climate is cold, as cooler water takes longer to soften the fibers. After soaking, give the poles a thorough drying with a towel to prevent mold growth.
Cutting Precision: When cutting your 4-foot side poles and 5-foot crossbars in Step 2, use a handsaw with a fine-tooth blade for clean cuts. Measure twice—once before marking and once after—to ensure both sides match perfectly. For extra stability, consider cutting the crossbars at a slight angle where they meet the side poles, creating a more secure joint that won't wobble in wind.
Rung Spacing Strategy: In Step 3, those 6-8 inch vertical spacings between rungs are ideal for most vines, but adjust based on your plants. For heavy climbers like grapes, reduce spacing to 4 inches as mentioned, but for lighter vines like morning glories, you can stretch it to 10 inches. The key is maintaining 1-2 inches between each rung—this airflow gap prevents fungal issues while still giving vines plenty of grip points.
Anchoring Tips: The 10-foot garden twine in Step 4 is your best friend for securing the trellis. For windy areas, double up the twine or use a heavier-duty rope. I've found that tying the trellis to both a fence post AND a buried stake creates a triangle of support that eliminates wobble completely. If you're anchoring to a wall, use L-brackets for a more permanent solution that won't degrade like twine over time.
Pro Tips for Bamboo Garden Trellises
- Building a bamboo trellis is easier than you think—these small adjustments will make all the difference in durability...
- Soaking Secret: The 30-60 minute soak in Step 1 isn't just about flexibility—it's about preventing splinters. I've le...
- Cutting Precision: When cutting your 4-foot side poles and 5-foot crossbars in Step 2, use a handsaw with a fine-toot...
Frequently asked questions
Got questions about bamboo garden trellises?
Here are answers to the most common ones to help you get started with confidence!
What’s the best type of bamboo to use for a garden trellis?
Opt for clumping bamboo (like Bambusa multiplex) over running bamboo—it won’t spread invasively. Avoid hollow-stemmed species; solid or semi-solid culms (stems) provide better structural support. Look for mature canes (1–3 inches in diameter) for durability.
How long does it take for plants to climb a bamboo trellis?
Timing varies by plant! Fast climbers like clematis or passionflower may take 2–4 weeks to latch on, while slower growers (e.g., wisteria) can take months. Start training vines early in the season for the best results.
Can I use bamboo trellises for heavy plants like grapes or kiwi?
Yes, but reinforce them! For heavy climbers, use thicker bamboo (2+ inches in diameter) or pair trellises with metal stakes. Space supports 3–4 feet apart and secure with soft ties (like old T-shirts) to avoid damaging stems.
How do I protect bamboo trellises from rot or pests?
Prevent rot by treating bamboo with linseed oil or beeswax before planting. To deter pests (like termites), elevate trellises slightly off the ground and avoid burying them. For extra protection, wrap bases with copper mesh or use cedar mulch nearby.
Are there alternatives to bamboo trellises?
Try metal arch trellises (durable but pricier), wooden lattice panels (customizable but heavier), or recycled plastic trellises (lightweight and weatherproof). Each has pros—choose based on your budget, plant weight, and garden aesthetics!
Wrapping up and next steps
Transforming your garden with bamboo garden trellises isn’t just about maximizing space—it’s about creating a lush, dynamic, and sustainable oasis. Whether you're a seasoned gardener or just starting, these versatile trellises offer endless possibilities for climbing plants, privacy, and even artistic flair. 🌿✨
Ready to take the next step? Start small—pick a trellis, choose your favorite climbers (like jasmine or morning glories), and watch your vertical garden thrive! For inspiration, sketch a simple layout or browse DIY guides to customize your design. Your green thumb is just a trellis away!