Landscaping
Designing a low-maintenance garden that actually looks stunning isn’t luck—it’s about smart planning, and computer-generated (CG) garden design tools make it easier than ever. I’ve used these digital layouts to transform bare patches into lush, functional spaces without breaking a sweat.
The best part? You can tweak colors, plant placements, and even test seasonal changes before digging a single hole.
Start with free apps like Garden Planner or SketchUp’s Garden Layout, which let you drag-and-drop plants, hardscapes, and pathways. My favorite trick? Use the software’s sunlight analysis to place shade-loving plants where they’ll thrive year-round.
You’ll save hours of trial-and-error in the real world, and the designs adapt to any yard size—from tiny balconies to half-acre lots.
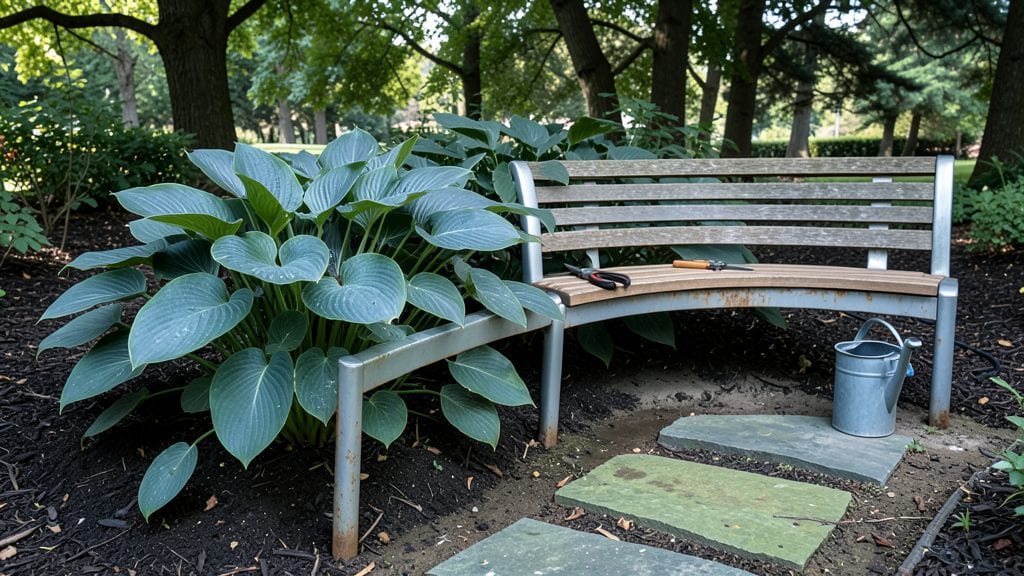
The payoff is a garden that looks intentional, not chaotic. Imagine walking past velvety hostas under a trellis, or a gravel path that guides you effortlessly through the space. These digital designs help you avoid overcrowding, poor drainage spots, and plant combinations that clash.
Plus, you can print out your layout and take it straight to the nursery with confidence.
Pro tip: Use the 3D preview to spot mistakes before they happen—like a deck blocking sunlight or a shrub growing too wide for its spot. Once you’ve perfected the design, the real-world build takes half the time. Ready to turn your outdoor space into a showstopper without the guesswork?
📚 In This Guide
- What you need
- Instructions
- Tips and common mistakes
- Wrapping up and next steps
What you need
- ● Sketching & Planning: Graph paper or digital design software (e.g., SketchUp, AutoCAD, or Canva)
- ● Ruler, protractor, and colored pencils/markers (for hand-drawn layouts)
- ● Measuring tape (25–50 ft, depending on garden size)
- ● Hardscaping: Gravel or crushed stone (1–2 inches deep, ~50 lbs per 10 sq ft)
- ● Pavers or stepping stones (quantity based on layout; ~10–20 sq ft per 10 stones)
- ● Edging material (metal, plastic, or brick; ~10–15 ft per garden border)
- ● Planting: Drought-tolerant plants (e.g., succulents, lavender, ornamental grasses)
- ● Mulch (2–3 inches deep; ~2–3 bags per 100 sq ft)
- ● Soil amendments (compost or slow-release fertilizer)
- ● Tools: Shovel, rake, and hand trowel
- ● Wheelbarrow (for hauling materials)
- ● String line & stakes (for marking layouts)
- ● Outdoor lighting (solar-powered path lights or LED string lights)
- ● Water-saving irrigation system (drip lines or self-watering planters)
- ● Decorative elements (sculptures, trellises, or wind chimes)
- ● CG-inspired tech (e.g., smart sprinklers or app-controlled garden monitors)
Instructions for crafting low-maintenance CG garden layouts
Here’s how to design a resilient, visually striking outdoor space that thrives with minimal effort.
Define Zones Based on Plant Needs
Begin by dividing your space into functional zones—sun, shade, and transitional areas. Observe your yard’s sunlight patterns over a week: note where full sun (6+ hours) dominates, where partial shade (3-6 hours) lingers, and where deep shade prevails. I always sketch a rough map, marking these zones with colored pencils—this prevents overcrowding and ensures each plant gets ideal conditions.
For example, drought-tolerant succulents and ornamental grasses belong in sun zones, while ferns and hostas thrive in shade. Transitional areas (like near fences or under large trees) can host adaptable plants like heuchera or carex sedges. This zoning reduces watering, pruning, and weeding—key to low-maintenance success.
Layer Plants for Depth and Structure
Use the three-tiered layering technique: tall plants (like ornamental grasses or small trees) form the backbone, mid-height shrubs (such as boxwood or hydrangeas) fill the middle, and ground covers (creeping thyme or ajuga) complete the look. This approach hides soil, reduces weeds, and creates visual interest without constant upkeep.
Stagger plant heights by 12-18 inches between layers to avoid a flat, monotonous appearance. I like to group plants with similar water needs together—this simplifies irrigation and ensures no plant gets neglected. For instance, pair lavender with rosemary in a sun zone; both love dry conditions and minimal attention.
Incorporate Hardscapes for Functionality
Strategic hardscapes—like gravel paths, raised beds, or a simple wooden bench—reduce maintenance by limiting soil exposure and defining spaces. Gravel paths, for example, suppress weeds naturally and drain well, while raised beds improve drainage and make planting easier. I often use 2-3 inches of decomposed granite in pathways to keep them weed-free and visually cohesive.
Place hardscapes where they serve multiple purposes: a bench under a tree provides shade while creating a focal point, and a stone border around a flower bed keeps plants contained and mulch in place. This structure cuts down on daily chores and adds longevity to your design.
Mulch Generously to Preserve Moisture
Apply 3-4 inches of organic mulch (like shredded bark or pine needles) around plants to retain soil moisture, suppress weeds, and regulate temperature. Spread it evenly, keeping it 2 inches away from plant stems to prevent rot. I refresh mulch annually in spring—this simple step slashes watering needs by up to 50% and keeps the garden looking polished.
Choose mulch based on your climate: in hot regions, lighter-colored mulch reflects sunlight, while darker mulch in cooler areas retains heat. Avoid clumping mulch too tightly against trunks—this can trap moisture and invite pests. Instead, fluff it lightly to allow airflow.
Add Focal Points for Visual Impact
Anchor your design with 3-5 key focal points—such as a striking tree, a sculptural plant, or a decorative pot—to draw the eye and create balance. I often use a large agave or yucca in a sun-drenched corner or a climbing rose trained on a trellis for vertical interest. These elements give the garden personality without requiring constant care.
Place focal points where they’re easily visible from entryways or seating areas. For instance, a stone obelisk with trailing ivy near a doorway adds height and texture while framing the space. Keep these features low-maintenance—opt for slow-growing plants or evergreens that don’t need frequent pruning.
Tips & tricks for perfect low-maintenance garden layouts
Creating a stunning outdoor space doesn't have to mean endless upkeep. These key strategies will help you achieve a polished, functional garden that thrives with minimal effort.
Sunlight Mapping: Spend a week observing your yard's sunlight patterns before finalizing your zone map. Use a simple app or even a notebook to track sun exposure at different times of day. I've found that sun patterns change dramatically between morning and afternoon—what appears to be full sun at noon might be partial shade in the morning. This careful observation prevents costly mistakes when selecting plants for each zone.
Plant Grouping Efficiency: When implementing the three-tiered layering in Step 2, consider grouping plants by their water needs beyond just sun exposure. For example, pair drought-tolerant plants like lavender with other Mediterranean varieties that share similar irrigation requirements. This approach can reduce your watering routine from multiple daily sessions to just one or two targeted waterings per week. The 12-18 inch height staggering creates visual interest while maintaining practical spacing for growth.
Hardscape Placement Strategy: For the 2-3 inches of decomposed granite mentioned in Step 3, consider installing edging around your gravel paths before adding the material. This prevents the gravel from spreading into planting areas over time. I've also found that placing hardscapes along existing property lines or natural barriers creates clean divisions that require less maintenance than free-form designs. A well-placed stone border can serve as both a functional barrier and a decorative element.
Mulching Mastery: When applying your 3-4 inches of organic mulch, consider using a different type of mulch in each zone to enhance visual contrast while maintaining functionality. For sun zones, lighter-colored mulch reflects heat, while darker mulch in cooler areas helps retain warmth. The key is to refresh your mulch annually in spring—this timing aligns perfectly with most planting schedules and ensures you're not disturbing established plants during their growing season.
Pro Tips for Cg Garden Design
- Creating a stunning outdoor space doesn't have to mean endless upkeep.
- Sunlight Mapping: Spend a week observing your yard's sunlight patterns before finalizing your zone map.
- Plant Grouping Efficiency: When implementing the three-tiered layering in Step 2, consider grouping plants by their water needs beyond just sun exposure.
Frequently asked questions
What are the best low-maintenance plants for a CG garden design?
Opt for drought-tolerant, native plants like succulents, ornamental grasses, or lavender. They thrive with minimal watering and upkeep while adding texture and color. Pro tip: Pair them with mulch to retain moisture and reduce weeds!
How long does it typically take to complete a CG garden design project?
Timing varies! A small weekend DIY project (like a raised bed or pathway) can be done in 1–2 days. Larger layouts with hardscaping (patios, decks) may take 2–4 weeks with professional help. Plan for seasonal weather—spring or fall is ideal!
Is CG garden design more expensive than traditional landscaping?
Not necessarily! CG designs focus on efficient layouts and durable materials (like gravel or pavers), cutting long-term costs. While initial investment may be similar, low-maintenance features save money over time—think less water, fewer tools, and no frequent replacements.
Can I DIY a CG garden design, or should I hire a pro?
Small projects (like container gardens or simple pathways) are great for DIYers! For complex layouts (grading, irrigation, or structural elements), a pro ensures precision and longevity. Hybrid approach: Handle planting yourself but consult a designer for tricky terrain.
How do I protect my CG garden design from extreme weather?
Use weather-resistant materials (e.g., composite decking, permeable pavers) and strategic plant placement. Elevate beds slightly to prevent water pooling, and add windbreaks (like hedges or trellises) for stormy areas. Regular checks after heavy rain or snow keep it shipshape!
Wrapping up and next steps
Transforming your outdoor space with CG garden design doesn’t have to be complicated—it’s all about smart, low-maintenance layouts that bring beauty and functionality together. Whether you’re working with a small balcony or a sprawling backyard, the right design can turn your vision into a thriving, stress-free sanctuary. 🌿
Ready to take the next step? Start by sketching your dream layout, gathering your materials, and diving into one of the easy-to-implement designs we’ve shared. With a little planning and creativity, your garden will soon become the envy of the neighborhood!