Planting
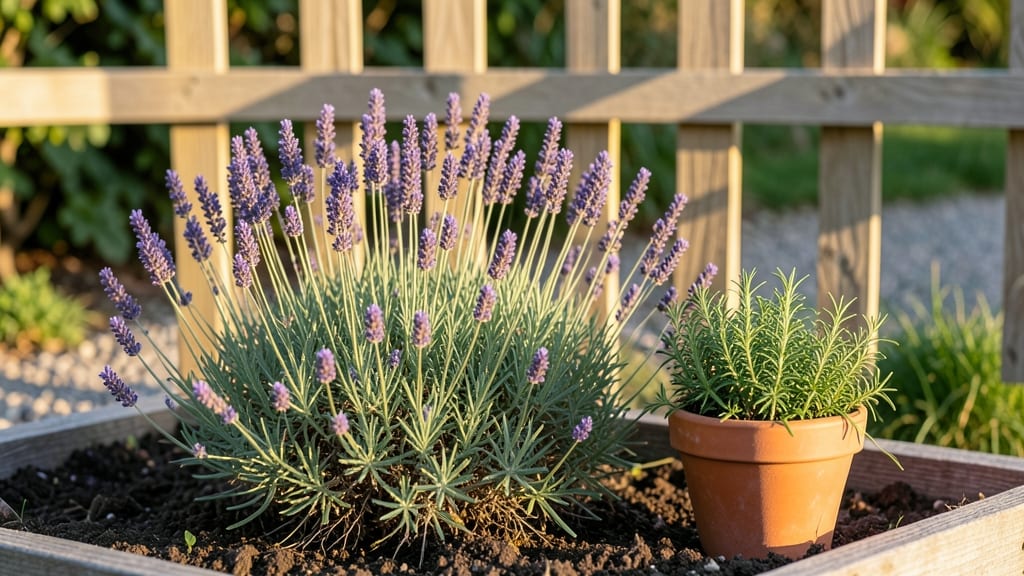
A garden plant planner turns chaotic planting into a thriving, organized system that actually works. I used to eyeball my garden layout, only to end up with overcrowded tomatoes and sad lettuce—until I mapped it out.
The difference is night-and-day: less waste, more harvests, and a space that looks as good as it performs.
Start with your sunlight map and soil notes—those two factors decide what grows where. Then layer in spacing rules (no more crowded plants competing for nutrients) and seasonal timing so you’re not scrambling to replant every few weeks.
Free digital tools or a simple notebook can handle this; the key is matching plants to their ideal conditions, not guessing. My first planned garden produced 30% more than my freeform attempts.
You’ll end up with a layout that’s both beautiful and productive, where herbs repel pests near your veggies and flowers attract pollinators. The best part? Adjusting for your climate or space is simple—just swap plants or tweak the timeline.
This isn’t just organization; it’s the foundation for a garden that feeds you all year.
Whether you’re a beginner or a seasoned gardener, the planner method saves time, money, and frustration. Let’s get your garden working for you instead of against you.
📚 In This Guide
- What you need
- Instructions
- Tips and common mistakes
- Wrapping up and next steps
What you need
- ● Sketchpad or digital planner – Graph paper (1/4" grid) or a free app like Garden Planner or Planter.
- ● Measuring tape – 25+ feet for accuracy.
- ● Pencil & eraser – For sketching layouts.
- ● Ruler or grid overlay – To scale plants and spacing.
- ● Plant catalogs or seed packets – With mature sizes and sunlight needs.
- ● Notebook or digital notes – For tracking plant stats (height, spread, sunlight, water needs).
- ● Garden markers or labels – For in-ground identification.
- ● Soil test kit – To tweak pH or nutrients before planting.
- ● Compass or sun tracker – To map sunlight exposure accurately.
- ● Color-coded stickers or highlighters – For visualizing plant groups (e.g., herbs, veggies, flowers).
- ● Planting calendar – To align planting with frost dates and harvest times.
Instructions: designing a functional year-round garden layout
Here's how to create a cohesive, high-yielding garden plan that accounts for seasonal changes and plant relationships.
Map Your Garden's Sun and Soil Zones
Begin by observing your garden space for at least a week to identify sun exposure patterns. Note where sunlight hits for 4+ hours daily versus areas with partial shade or full shade. Use stakes or flags to mark these zones—they'll dictate what you can grow where. I always sketch a rough layout on graph paper, dividing the space into sun, part-shade, and shade zones based on my observations.
Next, test your soil's pH and fertility in each zone using a simple soil test kit. Most vegetables thrive in 6.0-7.0 pH, while blueberries need 4.5-5.5. Amend the soil with compost or organic matter to improve drainage and nutrient retention before planting. This step ensures you're not fighting nature later when plants struggle to thrive in mismatched conditions.
Group Plants by Family and Needs
Organize your garden by plant families to maximize space and minimize pests. For example, group tomatoes, peppers, and eggplants together—they share similar water and nutrient needs. However, avoid planting nightshades (tomatoes, peppers) near brassicas (cabbage, broccoli) to prevent disease crossover. I like to create three main sections: heavy feeders (tomatoes, squash), moderate feeders (beans, carrots), and light feeders (lettuce, herbs).
Within each section, arrange plants by maturity timeline. Fast growers like radishes go in front of slower varieties like carrots to avoid shading issues. Tall plants such as corn or sunflowers should face south to prevent them from casting shade on shorter crops. This layered approach mimics natural ecosystems and boosts overall productivity.
Plan for Seasonal Succession and Companion Planting
Design your layout to support seasonal succession, ensuring a continuous harvest. Start with cool-season crops (spinach, peas) in early spring, followed by warm-season plants (tomatoes, peppers) as temperatures rise. Leave space for fall crops (kale, beets) after summer harvests. I mark my calendar with planting windows for each crop, adjusting for my local frost dates.
Incorporate companion planting to enhance growth and deter pests. Pair basil with tomatoes to improve flavor and repel mosquitoes, or plant marigolds around vegetables to confuse pests with their strong scent. Avoid planting onions or garlic near peas or beans—their strong aromas can inhibit growth. Sketch these pairings into your layout to create a symbiotic garden ecosystem that thrives with minimal intervention.
Incorporate Hardscaping and Pathways
Plan for accessibility and durability by designing raised beds, pathways, or trellises early in the process. Raised beds improve drainage and extend the growing season, while pathways keep soil compacted and reduce erosion. I use gravel or mulch for pathways to prevent weeds and make maintenance easier. If you're working with a sloped garden, consider terracing to prevent soil erosion and create level planting areas.
Add trellises or cages for vining plants like cucumbers, beans, or squash to save space and improve airflow. This not only keeps plants off the ground but also makes harvesting easier. Label each trellis or bed with plant names and care instructions—trust me, by mid-summer, you’ll forget what’s growing where without clear markers.
Test and Refine Your Layout
Before finalizing your plan, simulate the garden's growth by placing cutouts of each plant in their designated spots. This helps visualize how they’ll interact as they mature. Adjust spacing if you notice potential shading issues or overcrowding. I also like to walk through the layout at different times of day to ensure pathways remain accessible and that no area becomes too shady.
Once you’re satisfied, create a detailed planting schedule with dates for sowing, transplanting, and harvesting. Keep a garden journal to track what works and what doesn’t—note which plants thrived, which struggled, and why. After the first season, refine your layout based on these observations. A well-planned garden evolves with you, becoming more efficient and productive each year.
Tips & tricks for perfect garden plant planner layouts
A well-thought-out garden layout isn't just about aesthetics—it's the foundation of a thriving, productive space. Here are the key strategies I've refined over years of gardening to ensure your design works as hard as you do.
Sunlight Simulation: In Step 1, when mapping your sun exposure patterns, don't rely solely on summer observations. Account for seasonal variations by noting how sunlight shifts between winter solstice and summer solstice. I use a simple solar path calculator app to trace sunlight arcs across my garden at different times of year. This helps me identify areas that might receive inadequate light during winter months when many vegetables still need 4+ hours of sunlight to thrive. The difference between a garden that produces year-round and one that struggles in winter often comes down to this single consideration.
Soil Testing Precision: The pH recommendations in Step 1 are your starting point, but don't stop there. I recommend testing soil fertility as well—not just pH. Most test kits measure nitrogen, phosphorus, and potassium levels, which directly impact plant growth. For example, tomatoes (your heavy feeders) need more phosphorus than lettuce (light feeders). Adjust your compost application accordingly: heavy feeders might need an extra inch of well-aged compost, while light feeders can thrive with just a thin layer. Remember that soil amendments take time to work—apply them at least 4-6 weeks before planting to give them time to integrate fully.
Companion Planting Shortcuts: When implementing companion planting in Step 3, I've found that creating a simple reference chart saves time and prevents mistakes. List your main crops in one column and their ideal companions in the adjacent column. For example, under "tomatoes," note "basil, marigolds, onions" and mark "avoid: brassicas." I also include spacing requirements—some companion plants need more room than others. This visual reference makes it easy to spot potential conflicts during your final layout review. The key is balancing companionship with spacing needs; some beneficial pairings can actually compete for nutrients if planted too closely.
Hardscaping with Purpose: In Step 4, when planning pathways and raised beds, consider their dual role as both functional elements and microclimate modifiers. North-facing pathways create shade that can be used to grow shade-tolerant crops like lettuce or spinach. South-facing pathways, on the other hand, receive maximum sunlight and can be used for heat-loving plants if you're willing to move them seasonally. For raised beds, I recommend building them with a slight slope (about 1-2 degrees) toward the north to prevent water pooling during heavy rains. This small detail can prevent root rot in your heavy feeder crops while maintaining proper drainage.
Pro Tips for Garden Plant Planner
- A well-thought-out garden layout isn't just about aesthetics—it's the foundation of a thriving, productive space.
- Sunlight Simulation: In Step 1, when mapping your sun exposure patterns, don't rely solely on summer observations.
- Soil Testing Precision: The pH recommendations in Step 1 are your starting point, but don't stop there.
Frequently asked questions
Got questions about creating the perfect garden layout with a garden plant planner? You’re not alone! Here are some of the most common concerns—and their solutions—to help you plan with confidence.
What’s the best time to start planning my garden layout?
Start planning your garden layout indoors 6–8 weeks before your last frost date. This gives you time to sketch designs, research plant spacing, and order seeds or seedlings. For year-round gardens, stagger your planning to include fall/winter crops too!
How do I account for plant spacing if I have limited garden space?
Use vertical gardening (trellises, hanging planters) and interplanting (pairing fast-growing crops with slow ones). Dwarf or compact varieties also save space. A garden plant planner with a grid system helps visualize tight layouts efficiently.
Can I mix perennials and annuals in the same garden plan?
Perennials (like herbs or asparagus) provide structure, while annuals (tomatoes, marigolds) add seasonal color and productivity. Just ensure their sunlight and water needs align. Group perennials together to minimize disruption when planting annuals.
My garden looks crowded—how do I fix overplanting mistakes?
Start by thinning seedlings early to give plants room to breathe. Swap out underperforming plants with fillers (like lettuce or radishes) that mature quickly. If space is tight, prune leggy plants or harvest leaves (e.g., kale) to reduce competition.
Do I need a fancy app, or can I use a simple garden plant planner?
A free printable grid or even graph paper works great for beginners! Apps add convenience (like sun-tracking or reminders), but hand-drawn plans help you visualize better. Start simple—add complexity as you gain experience.
Wrapping up and next steps
Designing your dream garden doesn’t have to be overwhelming—with the right garden plant planner, you can create a thriving, year-round harvest that’s as beautiful as it is bountiful. 🌱 Whether you’re a seasoned gardener or just starting, the key is to start small, stay organized, and let your plants guide your vision.
Now that you’re armed with tips, tools, and answers, it’s time to roll up your sleeves and make it happen!
Next steps:
- Grab your planner and sketch your first layout—even a rough draft is a win!
- Start with one section (like herbs or veggies) to build confidence.
- Join gardening communities for inspiration and troubleshooting.