Lawn
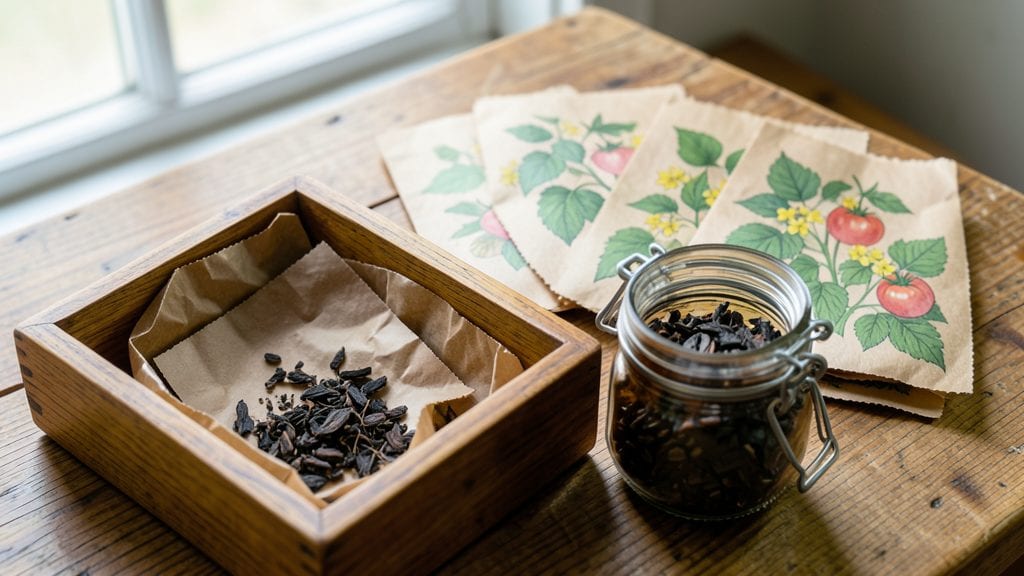
Storing seeds for years instead of seasons is the game-changer I wish I’d known sooner. ✨ A garden seed bank lets you preserve heirloom varieties, save money, and ensure you always have your favorite plants—even after they disappear from stores.
The key isn’t just collecting seeds; it’s drying them properly and storing them in the right conditions to keep them viable for decades.
You’ll need a cool, dark space with stable humidity, moisture absorbers like silica gel, and airtight containers—think mason jars or mylar bags. Focus on seeds from healthy, open-pollinated plants (like tomatoes, beans, or flowers) because hybrids won’t grow true to type.
Just a few hours of proper drying after harvest can mean the difference between seeds that sprout and seeds that turn to dust.
With the right setup, you’ll pull out seeds years later that still germinate at rates just as high as fresh ones. Imagine never buying tomato seeds again or sharing rare varieties with fellow gardeners.
The best part? You’re not just saving seeds—you’re safeguarding biodiversity and your garden’s future, one jar at a time.
This method works for any climate or space, from a basement corner to a dedicated seed room. Whether you’re a beginner or a seasoned gardener, a seed bank is the ultimate insurance policy for your garden’s legacy. Let’s get those seeds stored the right way!
📚 In This Guide
- What you need
- Instructions
- Tips and common mistakes
- Wrapping up and next steps
What you need
- ● Seeds: High-quality, clean seeds (free of debris, mold, or moisture). Aim for 100–200 seeds per variety to account for germination rates.
- ● Paper envelopes or seed packets: Acid-free, unbleached paper (e.g., kraft or manila) to prevent degradation. 5x7 inches works well for most seeds.
- ● Desiccant packets: 2–4 packets per storage container (e.g., silica gel) to absorb moisture.
- ● Air-tight containers: Glass jars (e.g., pint or quart mason jars with rubber seals).
- ● Plastic containers (e.g., food-grade, BPA-free with tight lids).
- ○ Vacuum-sealed bags (optional for long-term storage).
- ● Labeling supplies: Permanent markers (alcohol-based for longevity).
- ● Printable labels or sticky notes (include seed type, date collected, and storage conditions).
- ● Drying materials: Paper towels or newspaper (for spreading seeds to dry).
- ● Fan or dehumidifier (to speed up drying in humid climates).
- ● Seed catalog or database (to track varieties and germination rates).
- ● Hygrometer (to monitor humidity levels in storage, ideal: 30–40% RH).
- ● Freezer or climate-controlled space (for ultra-long-term storage, e.g., 0–5°C).
- ● UV-protective bags (if storing seeds in natural light for short periods).
Step-by-Step instructions for creating a reliable garden seed bank
Here's how I preserve seeds for years—no fancy equipment, just proven techniques.
🌱 Step 1: Harvest Seeds at Peak Ripeness
Collect seeds when the pods or flowers are fully mature but before they open or shatter. For tomatoes, wait until the fruit is soft and overripe—seeds inside are ready. For beans or peas, harvest when pods turn dry and papery. I always test a few seeds by squeezing them: if they crush easily, they're ready.
Lay harvested seeds on a clean paper towel in a single layer. Space them out so they don't touch. This prevents moisture buildup that can cause mold. Place the towel in a warm, dry spot—like a sunny windowsill—for 3-5 days to dry completely. You'll know they're ready when the seeds feel light and brittle between your fingers.
💧 Step 2: Clean and Dry Seeds Thoroughly
After initial drying, remove any remaining plant debris or chaff by gently rubbing seeds between your fingers over a clean bowl. For sticky seeds like tomatoes, soak them in lukewarm water for 24 hours to remove the gel coating. Drain and rinse them thoroughly, then spread them back on the paper towel for another 2-3 days of drying.
Check daily to ensure no moisture remains. If you see condensation on the bowl or seeds feel damp, extend drying time. Properly dried seeds should rattle when shaken in a small container. This step is critical—even slight dampness shortens storage life dramatically.
⏰ Step 3: Store Seeds in Airtight Containers
Use small, airtight containers like glass jars with tight-sealing lids or resealable plastic bags with the air squeezed out. Label each container with the seed type and harvest date—my labels include the variety name and year. Store containers in a cool, dark place, like a pantry or refrigerator, where temperatures stay between 32-41°F.
For long-term storage beyond 5 years, consider a freezer—seeds last decades this way. If using paper envelopes, place them inside a sealed container with a moisture absorber like silica gel packets. Avoid plastic bags alone—they trap humidity and reduce viability.
☀️ Step 4: Test Viability Periodically
Every 1-2 years, test a few seeds from each container to check germination rates. Place 10 seeds in a damp paper towel, fold it, and seal in a plastic bag. Keep the bag in a warm spot (70-75°F) for 7-10 days. Count how many sprout—if fewer than 80% germinate, replace those seeds with fresh ones.
This simple test saves you from planting outdated seeds that won't grow. I always set a reminder in my gardening journal to test seeds before the next planting season. It’s a small effort that ensures your seed bank stays reliable for years.
Tips & tricks for perfect garden seed preservation
These little-known techniques will help you extend your seed bank's life and maintain viability for years to come.
Drying is Everything: In Step 1, when drying seeds for 3-5 days, I've found that placing a small fan nearby helps circulate air without blowing directly on them. This speeds up drying while preventing mold. For extra humidity control, place a bowl of rice near the drying area—rice absorbs moisture naturally. Remember, seeds should feel brittle and rattle when shaken in a container. If they still feel damp after 5 days, extend drying time by another day or two.
Sticky Seed Strategy: For tomato seeds in Step 2, the 24-hour soak in lukewarm water is non-negotiable—it removes that gelatinous coating that would otherwise cause mold. After soaking, I rinse them under cool water and spread them on the paper towel again. Pro tip: Use a mesh strainer for rinsing to avoid losing tiny seeds down the drain. The additional 2-3 days of drying after soaking is crucial; I've seen seeds spoil when people skip this extra drying time.
Container Selection Matters: When choosing containers in Step 3, I always opt for glass jars over plastic—they're more airtight and won't degrade over time. For long-term storage beyond 5 years, I use vacuum-sealed bags with silica gel packets. The key is maintaining that 32-41°F temperature range; I keep mine in the back of my refrigerator where it stays consistently cool and dark. Never store seeds in the freezer door—the temperature fluctuates too much there.
Viability Test Hack: When testing germination in Step 4, I've found that using a clear plastic bag instead of an opaque one lets me monitor progress without opening it. Place the bag in a warm spot (like on top of the refrigerator) at 70-75°F and check for sprouts every 2-3 days. If fewer than 80% germinate, it's time to replenish that seed type. I always test at least 10 seeds per variety to get accurate results—testing just 5 can give misleading results.
Pro Tips for Garden Seed Banks
- These little-known techniques will help you extend your seed bank's life and maintain viability for years to come.
- Drying is Everything: In Step 1, when drying seeds for 3-5 days, I've found that placing a small fan nearby helps circulate air without blowing directly on them.
- Sticky Seed Strategy: For tomato seeds in Step 2, the 24-hour soak in lukewarm water is non-negotiable—it removes that gelatinous coating that would otherwise cause mold.
Frequently asked questions
Got questions about preserving your garden seed stash?
You’re not alone! Here are answers to the most common queries about garden seed banks—so you can keep your seeds viable for years to come.
How long can seeds last in a seed bank?
With proper drying and storage, most garden seeds stay viable for 5–10 years. Some, like peas or beans, may last decades! The key is low humidity (5–10%), cool temps (32–41°F), and airtight containers. Always check seed packets for specific longevity tips.
What’s the best time to harvest seeds for long-term storage?
Harvest seeds when they’re fully mature but before they fall naturally—usually when the pods dry out or turn brown. For example, tomato seeds ripen when the fruit softens; peppers are ready when they’re plump and dry. Test a few seeds for germination before storing the rest!
Can I use ziplock bags for seed storage?
Yes! Ziplock bags work well for short-term storage (up to 1–2 years), but for long-term viability, opt for Mylar bags with oxygen absorbers or vacuum-sealed containers. Moisture is the enemy—remove excess air and label bags with the seed type and date.
What do I do if my seeds won’t germinate after storage?
First, check storage conditions—high humidity or heat can reduce viability. Try a germination test: plant 5–10 seeds in damp paper towels for 7–10 days. If fewer than 50% sprout, consider sourcing fresh seeds. Some heirloom varieties may need scarification (scratching the seed coat) to break dormancy.
Do seeds need to be dried before storing?
Absolutely!
Seeds must be dried to 5–7% moisture content to prevent mold. Spread them in a single layer on a screen or paper towel in a warm, dry place for 1–2 weeks. A food dehydrator (set to 95°F) speeds this up. Use a moisture meter if possible—below 10% is ideal.
Wrapping up and next steps
Preserving your garden’s future starts with smart seed storage—proper drying and storage ensure your seeds stay viable for years to come! 🌱 By following best practices like low humidity, cool temperatures, and airtight containers, you’re not just saving seeds—you’re safeguarding biodiversity and future harvests.
Whether you’re a seasoned gardener or just starting, every seed stored correctly is a step toward a resilient, self-sufficient garden.
Ready to take action? Start small: audit your current seed stash, invest in quality storage solutions, and label everything clearly. Your future garden—and the plants that thrive in it—will thank you!