Picking
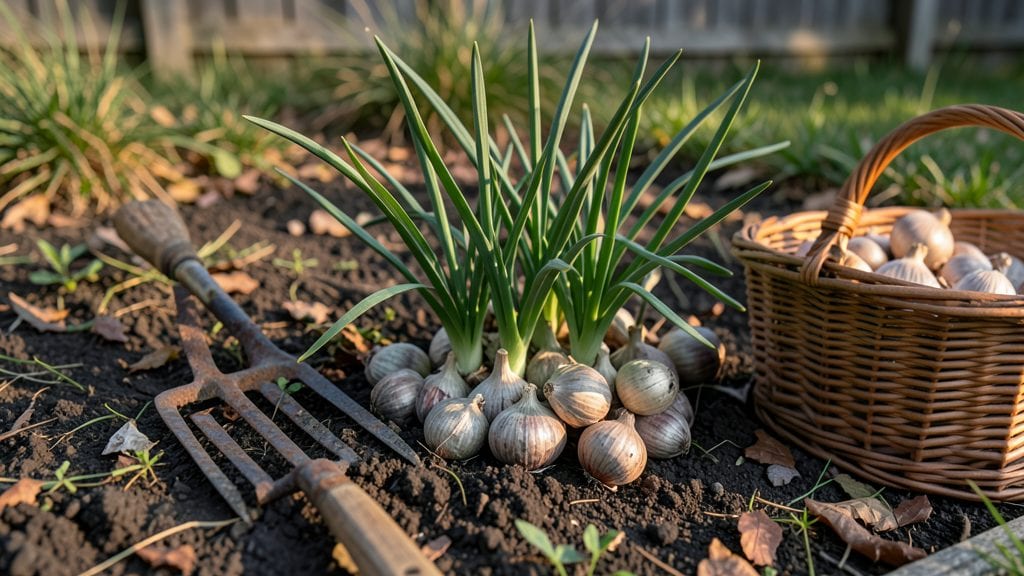
Harvesting shallots from your garden at the right time means the difference between bold flavor and bland disappointment.
Those pungent, layered 🧅 bulbs only reach their peak when the tops yellow and die back—but dig too early, and you’re left with tiny, underdeveloped shallots. Too late, and the flavor fades. The window is narrow, and the stakes are high.
Timing isn’t the only factor: the right tools, gentle handling, and proper curing can turn a good harvest into a perfect one. Below, I’ll walk you through when to dig, how to spot mature shallots, and the exact steps to preserve them for months.
Skip the guesswork and learn the proven techniques that keep your harvest intact from soil to storage.
When to harvest shallots for maximum flavor and storage potential
Timing your shallot harvest correctly ensures peak flavor and longer storage life. Unlike onions, shallots mature unevenly, so checking individual bulbs is key. The ideal harvest window falls between 120 and 150 days after planting, but environmental cues matter more than days alone.
Miss this window, and you risk bulbs splitting or losing their signature sweetness.
Weather plays a critical role—harvest on a dry, sunny day when soil is workable. Rainy conditions can lead to rot or muddy bulbs, while extreme heat may cause premature drying.
Plan your harvest for late summer, typically between July and September in most U.S. growing zones, when daytime temperatures hover around 70-80°F.
Here’s how to identify perfectly mature shallots in your garden:
Harvesting too early means small, pungent bulbs with less storage potential, while waiting too long risks split bulbs or sprouting. I’ve learned the hard way—overripe shallots lose their sweetness and store poorly.
For regrowth potential, leave a few bulbs in the ground if you’re in a mild climate; they’ll often produce smaller offsets the following year.
Regional differences matter: In cooler climates (Zones 3-5), aim for early August harvests, while warmer zones (7-10) can wait until late September. Always check soil moisture—dry conditions accelerate maturity, while excess water delays it. A simple soil probe test helps gauge readiness without digging.
One trick I’ve adopted is marking test bulbs early in the season. By digging one or two shallots every 2-3 weeks starting at 100 days, you’ll spot the perfect window before the entire patch matures.
This method also helps distinguish between mature bulbs (ready now) and immature ones (need more time).
Flavor development is directly tied to harvest timing. Shallots harvested at 50-75% yellowing deliver the best balance of sweetness and pungency. Fully brown tops indicate overmaturity, which can make bulbs bitter. For storage potential, prioritize bulbs with thick, dry skins—these keep best in cool, dark conditions.
If you’re unsure, prioritize bulb firmness over leaf color. A mature shallot feels solid when squeezed; soft spots mean it’s not ready. I’ve found that morning harvests yield the freshest bulbs, as evening dew can promote fungal growth during curing.
Always use a clean, sharp fork to avoid damaging nearby bulbs.
Pro tip: Harvest shallots on a weekday when you can cure them immediately. Leaving freshly dug bulbs in the garden overnight risks rotting or pest damage. Spread them out in a shady, well-ventilated area for 2-3 days to dry before storing—this critical step prevents spoilage.
Finally, don’t overlook the regrowth potential of shallots. If you harvest too early, some bulbs may re-sprout and produce smaller offsets. In my experience, shallots left in the ground past their prime often split or rot, so timing is everything.
With practice, you’ll develop an eye for the perfect harvest moment—when flavor, size, and storage potential align.
Step-by-step shallot digging and handling techniques for garden success
Once your shallots show signs of maturity—yellowing foliage and firm bulbs—it’s time to harvest. The wrong technique can bruise or damage the delicate allium layers, so follow these steps to ensure a clean, high-quality harvest.
I’ve learned the hard way that rushing or using the wrong tools leads to wasted effort and spoiled bulbs.
Gather your garden fork, pruning shears, and gloves before starting. Work on a dry, sunny day to minimize soil moisture, which can encourage rot. The goal is to lift the bulbs gently while preserving their papery skins—the natural protective layer that keeps them fresh during storage.
How to Harvest Shallots from the Garden
-
Step 1: Loosen the Soil
Use a garden fork to gently lift the soil around the shallot clumps. Insert the fork 2-3 inches away from the base and pry upward to avoid piercing the bulbs. -
Step 2: Lift the Bulbs
Grasp the foliage and pull the entire clump from the ground. Shake off excess soil, but don’t rinse—moisture speeds up spoilage. -
Step 3: Separate the Clumps
Gently pull apart the individual shallots using your hands or a knife. Avoid cutting into the bulbs, as this exposes them to rot. -
Step 4: Trim the Foliage
Cut the green tops back to 1-2 inches above the bulb. This reduces moisture loss and prevents disease during curing. -
Step 5: Cure the Shallots
Lay the bulbs in a single layer on a mesh screen or clean towel in a dry, shaded area for 3-5 days. This hardens the skins and extends storage life. -
Step 6: Store Properly
Once cured, place the shallots in mesh bags or paper bags and store in a cool, dark spot (ideal: 40-50°F) for 6+ months of freshness.
One common mistake I see is harvesting too early—soft bulbs won’t store well. Wait until at least 60% of the foliage has yellowed and died back. Another pitfall is washing the shallots before curing; moisture trapped inside the skins leads to mold. Always let them dry thoroughly first.
If you’re harvesting in humid conditions, extend the curing time to 7-10 days and ensure good airflow. I once lost an entire batch because I rushed the process during a rainy spell—never skip curing, even if you’re eager to use them!
For long-term storage, avoid plastic bags, which trap moisture. Instead, opt for breathable mesh or paper bags to prevent spoilage. Check your stored shallots monthly for signs of sprouting or soft spots—these are red flags to remove immediately.