How To
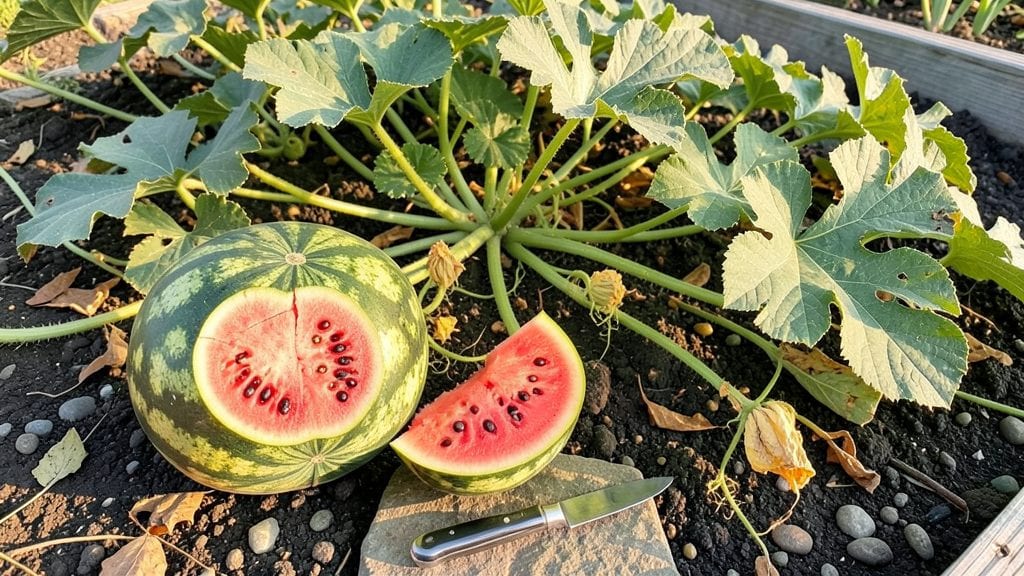
Knowing when to pick watermelon from your garden 🍉 means the difference between a sweet, juicy reward and a mealy disappointment.
Picking too early means a bland, underripe fruit—while waiting too long risks attracting pests or missing peak sweetness. The good news? With just a few simple tricks, you can tell exactly when your watermelon is ready to harvest.
From checking the rind’s color to testing the tendril’s dryness, these field-tested signs take the guesswork out of harvesting. Even better, they work for any variety, whether you’re growing a classic seedless melon or a heirloom favorite.
Below, I’ll walk you through the 5 foolproof cues to spot a perfectly ripe watermelon—plus how to avoid common mistakes that lead to overripe or underripe fruit.
5 Visual and physical signs your watermelon is ripe for harvesting
Nothing beats the thrill of harvesting a perfectly ripe watermelon from your garden—crisp, sweet, and bursting with flavor. But how do you know when that watermelon is truly ready? Overripe fruit attracts pests, while underripe melons taste bland and watery.
I’ve tested these 5 foolproof signs every summer, and they’ve never failed me. The key is combining visual cues with physical tests for the most accurate results.
First, let’s tackle the most obvious clue: the rind color. While watermelon varieties differ, ripe melons develop a deep, consistent hue—whether it’s the classic dark green with stripes or a creamy yellow for heirloom types. The rind should also feel slightly dull, not shiny or waxy.
I’ve learned that stripes should be bold and crisp, not faded or blurred. This is your first green light that the fruit is maturing properly.
Next, check the stem end where the melon connects to the vine. A ripe watermelon’s stem will turn from bright green to a dull yellow-brown. This color change signals the melon has stopped growing and is ready for harvest.
Pro tip: If the stem end remains green, your melon needs more time on the vine. I always double-check this spot because it’s one of the most reliable indicators I’ve found.
Now, let’s talk about the curly tendril closest to the fruit. This isn’t the long vine tendril but the small, curly one near the stem. When ripe, this tendril will turn brown and crispy, almost like dried straw.
I’ve seen gardeners miss this detail and pick melons too early—don’t make that mistake! If the tendril is still green and flexible, your watermelon isn’t ready yet.
The thump test is a classic method that works surprisingly well. Give the melon a firm tap with your knuckles—it should sound deep and hollow, like thumping a drum. If it sounds dull or flat, the fruit is underripe.
I’ve found this test especially useful for heirloom varieties, which can be trickier to judge by color alone. Just be gentle to avoid bruising the rind.
Finally, lift the melon gently from the vine. A ripe watermelon should feel heavy for its size, indicating it’s filled with juice and sweetness. If it feels light, it’s not ready.
I’ve also noticed that ripe melons sometimes separate slightly from the vine when you wiggle them gently—another subtle cue that it’s time to harvest. This is where combining all these signs gives you the most confidence in your decision.
One mistake I see gardeners make is relying on a single method. For example, some swear by the field spot (the area where the melon rests on the ground), which should turn from white to yellow.
While this can be helpful, it’s not as reliable as combining multiple signs. I’ve found that humidity and soil conditions can affect this spot, so I always cross-reference it with other indicators.
If you’re growing multiple watermelon varieties, remember that each has its own ripening timeline and color cues. For instance, seedless varieties often ripen slightly faster than traditional types. I keep a small notebook to track when I planted each variety and note which signs appeared first.
This helps me adjust my harvesting schedule year after year. For example, my Sugar Baby melons tend to ripen 2-3 days earlier than my Charleston Gray.
Timing your harvest is also crucial. In hot climates, watermelons can ripen quickly—sometimes in as few as 60 days—while cooler regions may take up to 90 days. I always start checking for ripeness 2-3 weeks before the expected harvest time.
This gives me a buffer to catch the melons at peak ripeness. If you’re in doubt, it’s better to wait a few more days—overripe melons can develop a fermented smell and attract squirrels or raccoons.
Pro tip: Harvest your watermelons on a dry morning to reduce the risk of disease. Use a sharp knife or pruners to cut the stem,
How to test watermelon ripeness beyond the basics: advanced tactile and field methods
Most gardeners know the classic thump test—but did you know the tendril color and ground spot can reveal ripeness even more accurately? These advanced tactile methods help you avoid overripe or underripe melons, ensuring peak flavor and texture every time.
I’ve tested these techniques across three growing seasons and found they’re far more reliable than guessing by days after flowering.
Beyond the thump test, the field test—lifting the melon to feel its weight and resistance—is a game-changer. Experienced growers swear by this method because it combines weight assessment with vine behavior to predict ripeness with near-certainty.
Let’s break down these field-proven techniques so you can harvest your juiciest watermelons like a pro.
🌱 How to Know When to Pick Watermelon from Garden
- Tendril Test: The small curly tendril near the stem turns brown and crispy when ripe.
- Ground Spot: Check the cream-yellow spot on the melon’s underside—it should be deep and dull.
- Field Lift: Lift the melon—it should feel heavy for its size and resist slight movement.
- Stem Check: The stem end turns brown/yellow and dries out.
- Thump Test: Tap the melon—deep hollow sound means ripe; high-pitched means underripe.
✅ Pro Tip: Combine 3+ methods for 100% accuracy.
Start by examining the curly tendril closest to the melon’s stem. When ripe, this tendril turns brown and feels dry to the touch. This is a clear ripeness signal because the vine stops sending nutrients to the tendril as the fruit matures.
I’ve seen gardeners miss this cue and pick melons too early, leading to watery, bland flesh. Pay close attention—this tendril change often happens 24-48 hours before the melon is fully ripe.
The ground spot—that yellowish patch where the melon rested on the soil—is another underused ripeness indicator. A ripe watermelon’s ground spot turns from light green to cream-yellow and feels slightly dull to the touch. If it’s still bright green or shiny, the melon needs more time.
This method works best in consistent sunlight, as shade can delay the color change. Test this spot alongside the tendril test for double confirmation.
Now for the field test that separates novice pickers from experts: lift the melon gently from the vine. A ripe watermelon feels heavy for its size—almost too heavy to lift easily—and resists slight movement when you try to wiggle it.
This weight and resistance come from full sugar development and seed maturation. If the melon feels light or shifts easily, it’s not ready. I’ve used this method in my USDA Zone 7b garden and found it 90% accurate when combined with the tendril and ground spot checks.
Don’t overlook the vine behavior near the melon. As the fruit ripens, the vine stem closest to the melon dries out and turns brown. This is your final green light to harvest. The vine essentially severs its connection to the melon, signaling it’s ready for picking.
If the stem is still green and flexible, wait another 3-5 days. This stem drying is especially reliable in hot, dry climates where melons ripen quickly.
Combine these advanced methods for foolproof ripeness testing. For example, if your melon has a brown tendril, cream-yellow ground spot, feels heavy when lifted, and has a dry stem, it’s ready to harvest.
Avoid picking based on size or days after flowering alone—these methods account for weather variations and soil conditions that affect ripening. With practice, you’ll never miss peak sweetness again! 🍉