Landscaping
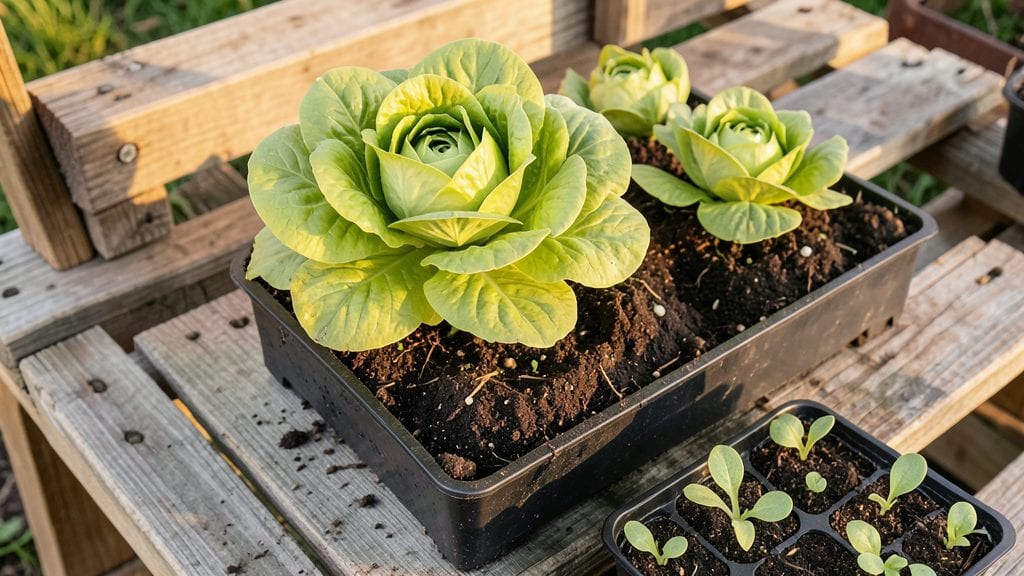
A pallet gardening table turns scrap wood into a functional, elevated planter that saves space and boosts your harvest—perfect for small yards or urban balconies.
Transforming wooden pallets into a sturdy, weatherproof gardening table is one of the most budget-friendly ways to expand your growing space—without breaking the bank or sacrificing durability. I built mine last spring, and it’s now home to thriving General Pallet Garden Plants 🌱 that would’ve struggled in crowded ground beds.
Whether you’re filling gaps between patio chairs or reclaiming a shady corner, this DIY project lets you customize height, size, and even add wheels for mobility. The key? Choosing the right pallets and sealing them properly to outlast seasons of rain and sun.
Below, I’ll walk you through heavy-duty designs, material hacks, and plant-arrangement tips to turn your table into a year-round growing powerhouse—no green thumb required.
Heavy-duty pallet gardening table designs for year-round use
Building a pallet gardening table that withstands rain, sun, and wind is easier than you think. With the right reinforcement techniques and weatherproofing, your DIY table can last for years while giving your plants the perfect growing space.
I’ve designed three heavy-duty pallet table plans—each with unique features—to fit different garden sizes and climates.
Whether you’re growing herbs on your patio, vegetables in containers, or flowers for pollinators, these designs prioritize stability, drainage, and longevity. The key? Using heat-treated pallets, waterproof sealants, and metal reinforcement where needed.
Let’s dive into the step-by-step process, including a material list and cost-saving tips to keep your project budget-friendly.
Step-by-Step Pallet Gardening Table Build
-
Step 1: Select and Prep Pallets
Choose heat-treated pallets (marked "HT") and sand down rough edges. Remove any nails or staples protruding from the wood to prevent injury. Inspect for rot or cracks—discard damaged sections immediately.
-
Step 2: Build the Base Frame
Assemble a rectangular frame using 2x4 lumber or additional pallet slats. For extra stability, add metal corner braces at each joint. Aim for a height of 24-30 inches for easy access.
-
Step 3: Attach Pallet Slats
Lay pallet slats horizontally across the frame, spacing them 1-2 inches apart for drainage. Secure with deck screws (not nails) to prevent warping. For deeper root systems, stack two pallets vertically and secure them together.
-
Step 4: Reinforce for Wind
Add vertical supports (like additional pallet ends) to the sides of the table. For high-wind areas, use L-brackets to anchor the table to a concrete base or heavy-duty stakes.
-
Step 5: Weatherproof the Wood
Apply a waterproof sealant (like spar urethane) to all surfaces. For added UV protection, use a non-toxic wood stain. Let dry completely before planting—this step is critical for year-round durability.
-
Step 6: Add Drainage and Soil
Drill drainage holes in the bottom of the pallet slats if not already present. Line the table with landscape fabric to prevent soil from falling through, then fill with a well-draining potting mix. Top with mulch to retain moisture.
-
Step 7: Plant and Maintain
Choose plants suited for container gardening, like basil, peppers, or marigolds. Water deeply in the morning and fertilize every 4-6 weeks with a balanced NPK 10-10-10 mix. Monitor for pests and reapply sealant annually.
For cost-saving tips, skip the stain if your pallets are already weathered—just seal them with linseed oil for a natural finish. If you’re on a tight budget, use free pallets from local businesses (like hardware stores or breweries) and repurpose them immediately to avoid moisture damage.
Pro tip: Paint the underside of the table with latex paint to extend its lifespan.
One of my favorite designs is the "two-tier pallet table", which maximizes space for shallow-rooted herbs on the top tier and deeper-rooted veggies on the bottom. Just ensure each tier has its own drainage system to avoid waterlogging.
If you’re in a humid climate, add a vented lid to protect plants from excessive rain.
Don’t overlook the legs or casters—if you want mobility, attach heavy-duty casters to the base for easy repositioning. For a permanent setup, bury the legs in concrete footings to prevent shifting. Test the table’s stability by applying pressure to the corners before planting.
Finally, think about seasonal adjustments. In winter, move your table to a sheltered location or cover it with a waterproof tarp to protect it from snow and ice. For year-round use, consider adding a small greenhouse panel on one side to extend your growing season.
With these designs, your pallet gardening table will become the backbone of your outdoor space—functional, stylish, and built to last through every season. Happy building! 🌱
How to choose the best pallets for your gardening table
Not all pallets are created equal when it comes to building a durable gardening table. The wrong choice can lead to rot, toxic leaching, or structural failure—especially in wet climates.
I’ve learned the hard way that heat-treated (HT) pallets are the gold standard for outdoor use, but even they require careful selection to avoid hidden risks like chemical treatments or splintered wood that harms plant roots.
Your first decision should be between HT vs. non-HT pallets. Heat-treated pallets are stamped with "HT" and treated to kill pests, making them safer for edible gardens. However, some HT pallets still contain methyl bromide residues, which can leach into soil.
Always look for the "MB" stamp—this indicates they’ve been fumigated with this chemical. For the safest option, choose HT pallets without MB or opt for kiln-dried or naturally weathered wood.
🌱 Pallet Comparison Table for Gardening Tables
| Type | Treatment | Safety for Edibles | Climate Suitability | Lifespan (Years) |
|---|---|---|---|---|
| HT (Heat-Treated) | Pest-free, no MB | ✅ Safe | All climates | 3-5 |
| HT (MB Treated) | Pest-free, chemical | ⚠️ Risky for edibles | Dry climates only | 2-4 |
| Chemically Treated (MCQ) | Pesticide/fungicide | ❌ Avoid for edibles | Humid climates | 1-3 |
| Untreated/Natural | None | ✅ Safe if sealed | Dry, controlled environments | 2-4 (with sealing) |
Next, inspect the structural integrity of the pallet. Look for cracks, loose nails, or warped boards—these can weaken your table over time.
A 40"x48" pallet is the most common size for gardening tables, but if you’re building for heavy plants like tomatoes or cucumbers, reinforce the base with metal brackets or additional crossbeams. I’ve found that double-stacking pallets (two layers with spacers) adds stability for taller plants.
Climate plays a huge role in pallet selection. In humid or rainy regions, avoid chemically treated pallets—they’ll rot faster and may leach harmful chemicals into your soil. Instead, use HT pallets with a waterproof sealant like linseed oil or exterior-grade paint.
For dry climates, untreated pallets can work if you seal them annually, but always add drainage holes to prevent water pooling at the base.
Finally, consider the cost vs. safety trade-off. While HT pallets cost more upfront ($10-$20 each), they save you money long-term by lasting 3-5 years with proper care.
I’ve seen gardeners reuse old pallets from local businesses—just confirm they’re HT and free of nails or staples that could harm roots. Pro tip: Sand down rough edges and treat with food-safe mineral oil to create a non-toxic growing surface.
Your pallet choice sets the foundation for your gardening table’s success. Prioritize HT pallets without MB, reinforce weak spots, and adapt your selection to your local climate. With the right pallet, your table will support healthy plants for years—not just one growing season. 🌱