Fertilization
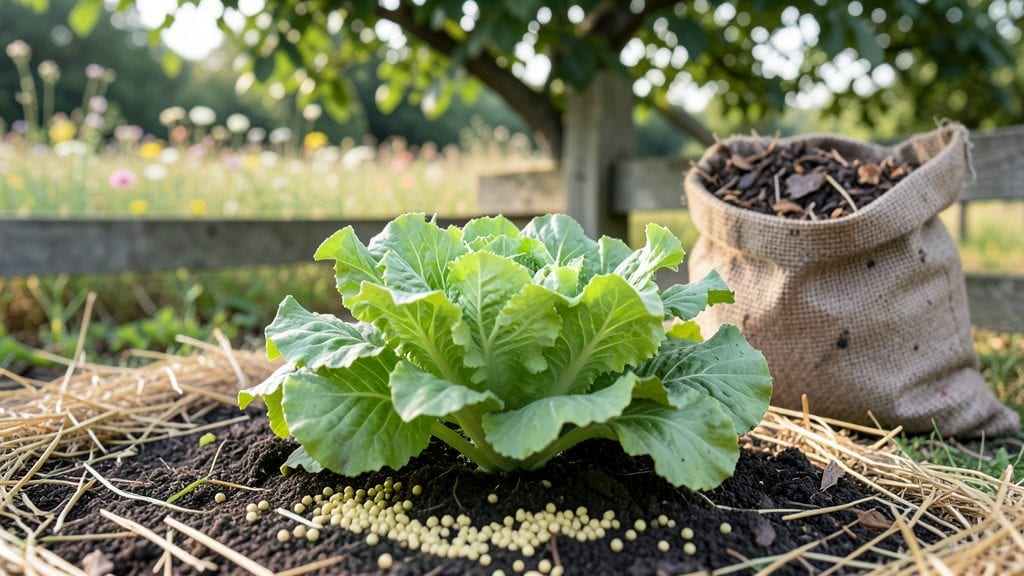
My garden fertilizing tips start with one simple truth: healthy soil grows healthy plants, and the numbers on that fertilizer bag tell you exactly how to feed your soil—if you know how to read them. 🌱 I used to dump whatever was cheapest on my garden, but after learning to decode NPK ratios, my tomatoes grew twice as big and my roses bloomed nonstop.
The key is matching fertilizer types—organic compost, slow-release granules, or liquid feeds—to what your plants actually need. A quick soil test reveals deficiencies, and then it’s about timing: feed leafy greens when they’re young, flowering plants when buds form, and lawns in early spring.
My biggest mistake? Overdoing synthetic fertilizers, which burned plants and ruined the soil long-term.
You’ll end up with vibrant green leaves, stronger stems, and blooms that last all season—no more guessing what your plants are hungry for. The secret’s in the balance: too much nitrogen makes plants flop, too little phosphorus stunts roots.
I’ll show you how to get it right every time, whether you’re growing veggies, flowers, or a lush lawn.
This works for any garden size, from raised beds to sprawling yards, and cuts down on waste by using what you already have—like kitchen scraps for compost. Let’s skip the confusion and get your soil working for you.
📚 In This Guide
- What you need
- Instructions
- Tips and common mistakes
- Wrapping up and next steps
What you need
- ● Fertilizer: Granular fertilizer (e.g., 10-10-10 NPK ratio) – 2-3 lbs per 100 sq ft
- ● Liquid fertilizer (e.g., fish emulsion or seaweed extract) – 1-2 quarts per gallon of water
- ● Slow-release fertilizer (e.g., Osmocote) – Follow package instructions for coverage
- ○ Soil Testing Kit: To determine pH and nutrient levels (optional but highly recommended).
- ● Garden Gloves: A pair to protect your hands from chemicals and dirt.
- ● Spreader: Broadcast spreader (for granular fertilizer) – Adjustable settings for even distribution
- ● Hose-end sprayer (for liquid fertilizer) – 1-2 gallon capacity
- ● Watering Can or Hose: For activating granular fertilizer or diluting liquid fertilizer.
- ○ Garden Fork or Tiller: To aerate soil before applying fertilizer (optional but helpful for compacted soil).
- ● Compost or Organic Matter: Mix in 1-2 inches of compost to boost soil health before fertilizing.
- ● pH Adjusters: Lime (to raise pH) or sulfur (to lower pH) if your soil test recommends it.
- ● Mulch: Straw, wood chips, or shredded leaves to retain moisture and reduce fertilizer runoff.
- ● Calcium or Magnesium Supplement: Epsom salt (for magnesium) or crushed eggshells (for calcium) if plants show deficiencies.
- ● Labeling Supplies: Stakes or flags to mark fertilized areas and track application dates.
Step-by-step instructions for smart garden fertilizing
Here’s how to feed your plants right—without wasting a drop or burning their roots.
🌱 Step 1: Test Your Soil First
Before grabbing any fertilizer, grab a soil test kit or send a sample to your local extension office. I’ve learned the hard way that guessing leads to over-fertilizing, which burns roots and harms plants. The test will tell you your soil’s current levels of nitrogen (N), phosphorus (P), and potassium (K), plus pH. Most home gardens need a pH between 6.0 and 7.0 for optimal nutrient uptake.
If your soil is already rich in one nutrient, skip fertilizers high in that element. For example, if phosphorus is high, avoid bone meal or superphosphate. The test results also guide whether you need organic matter (like compost) or synthetic boosts. I always adjust my plan based on these numbers—it’s the difference between thriving plants and struggling ones.
💧 Step 2: Choose the Right Fertilizer for Your Plants
Not all fertilizers work for every plant. Leafy greens like lettuce and spinach thrive with a high-nitrogen fertilizer (look for a ratio like 10-5-5 or 5-3-3), while flowering plants such as tomatoes and roses need more phosphorus (a 5-10-10 ratio). Slow-release granules are great for steady growth, while liquid fertilizers give an immediate boost—ideal for fixing nutrient deficiencies fast.
For organic options, I rely on compost, worm castings, or fish emulsion. These break down slowly and improve soil structure over time. If you’re using synthetic fertilizers, follow the label’s recommended dosage—more isn’t better. Over-fertilizing can lead to salt buildup in the soil, which stunts root growth and even kills plants.
✂️ Step 3: Apply Fertilizer at the Right Time
Timing matters just as much as what you use. For vegetables and annuals, apply a light dose of fertilizer when you plant, then again 4-6 weeks later and every 4-6 weeks after that. Perennials and shrubs get one heavy dose in early spring (just as new growth starts) and another light dose in midsummer (if needed). Never fertilize stressed plants—wait until they’ve recovered from drought, transplant shock, or disease.
Water your garden deeply before and after applying fertilizer. This helps dissolve granules and washes excess nutrients away from roots, preventing burns. I always water first, sprinkle the fertilizer evenly, then water again. For granular fertilizers, use a spreaders for even distribution—lumpy patches mean uneven growth.
☀️ Step 4: Monitor and Adjust Based on Plant Health
Watch your plants closely after fertilizing. Healthy leaves should be deep green, not yellow or brown. Yellowing leaves with green veins often mean iron deficiency, while dark green leaves with slow growth may signal too much nitrogen. If you see brown leaf tips or crispy edges, you’ve overdone it—flush the soil with extra water to dilute the excess.
Adjust your approach based on what you observe. If your tomatoes are flowering but not fruiting, they need more phosphorus. If your lawn is growing fast but weak, cut back on nitrogen. I keep a simple journal noting fertilizer types, amounts, and plant responses—it’s the best way to fine-tune your strategy over time.
🪴 Step 5: Maintain Soil Health Year-Round
Fertilizing isn’t just about feeding plants—it’s about building healthy soil. Add 2-3 inches of compost annually to improve soil structure and microbial activity. Mulch with straw or wood chips to retain moisture and regulate temperature. Avoid tilling too deeply, as it disrupts beneficial soil organisms that help break down nutrients.
If your soil feels compacted or drains poorly, mix in sand or perlite to improve aeration. Over time, your garden will develop a self-sustaining ecosystem where plants thrive with fewer inputs. I’ve seen firsthand how a little effort in soil care reduces the need for heavy fertilizers later on—it’s like planting seeds for future harvests.
Tips & tricks for smart garden fertilizing
These soil science secrets will help you avoid common mistakes and get the most out of every fertilizer dollar.
Soil Testing is Non-Negotiable: I can't stress this enough—skipping the soil test is like treating a fever without checking your temperature first. That pH between 6.0 and 7.0 is your golden zone for nutrient uptake. If your test shows phosphorus levels are already high, resist the urge to add more—bone meal or superphosphate will just create an imbalance. I've seen gardens where over-fertilizing actually killed plants because the roots couldn't handle the salt buildup.
Fertilizer Ratios Matter More Than You Think: That 10-5-5 ratio on your bag isn't just marketing—it tells you exactly what your plants need. Leafy greens like lettuce will grow like weeds with high nitrogen, but tomatoes need that 5-10-10 push for fruiting. Pro tip: For vegetables and annuals, split your applications—light dose at planting, then again at 4-6 weeks—this prevents nutrient overload while maintaining steady growth. I've ruined two batches of basil by overdoing nitrogen early in the season.
Watering Technique Makes All the Difference: You absolutely must water deeply before AND after applying fertilizer. This isn't just about dissolving granules—it's about moving nutrients down to the roots where they're needed. I use a soaker hose for 20-30 minutes before fertilizing, then again after. For granular fertilizers, invest in a spreader—uneven distribution leads to lumpy growth patterns that look like someone took a hammer to your plants.
Plant Health is Your Best Teacher: Those deep green leaves you're aiming for? They're your report card. Yellowing with green veins means iron deficiency—time for some chelated iron. Dark green but weak growth? You're overdoing nitrogen. I keep a tiny notebook by my garden with dates, fertilizer types, and plant responses. After three seasons, I can predict exactly what my tomatoes need just by looking at their leaves. The key is watching for brown leaf tips—that's your warning sign to flush the soil with extra water immediately.
Pro Tips for Garden Fertilizing Tips
- These soil science secrets will help you avoid common mistakes and get the most out of every fertilizer dollar.
- Soil Testing is Non-Negotiable: I can't stress this enough—skipping the soil test is like treating a fever without checking your temperature first.
- Fertilizer Ratios Matter More Than You Think: That 10-5-5 ratio on your bag isn't just marketing—it tells you exactly what your plants need.
Frequently asked questions
Got questions about fertilizing your garden? You’re not alone! Here are some of the most common queries—plus straightforward answers to help you grow like a pro.
How often should I fertilize my garden?
Most plants thrive with fertilizer every 4–6 weeks during the growing season (spring to fall). Slow-release fertilizers may need less frequent applications, while heavy feeders (like tomatoes or peppers) might need monthly boosts. Always check the label for specific recommendations!
When is the best time to fertilize?
The ideal times are early spring (to kickstart growth) and mid-summer (to support flowering/fruiting). Avoid fertilizing in extreme heat or drought—plants can’t absorb nutrients efficiently. A light application in fall (for perennials) can also prep roots for winter.
What’s a budget-friendly alternative to store-bought fertilizer?
Try compost, manure (well-aged!), or grass clippings as free organic options. Coffee grounds (for acid-loving plants) and eggshells (crushed for calcium) are also great. Even banana peels (buried for potassium) work in a pinch!
Why are my plants yellowing after fertilizing?
Over-fertilizing can burn roots, causing yellowing (chlorosis). Flush the soil with water to dilute excess salts, and reduce fertilizer strength next time. Always water deeply before and after applying fertilizer to help nutrients absorb safely.
Is synthetic fertilizer better than organic?
It depends! Synthetic fertilizers provide immediate, precise nutrients but lack soil benefits. Organic options (like compost or worm castings) improve soil health long-term but release nutrients slower. Mix both for balanced results—think of it like a fast food + home-cooked meal combo!
Wrapping up and next steps
Mastering the art of garden fertilizing is all about understanding your soil, choosing the right nutrients, and applying them with care. Whether you’re a beginner or a seasoned gardener, these garden fertilizing tips will help you nurture thriving plants and a healthier landscape.
Start small, experiment, and watch your garden flourish! 🌱
Next steps:
- Test your soil again in 3-6 months to track progress.
- Keep a gardening journal to note what works best for your plants.
- Share your success (or lessons learned) with fellow green thumbs!