How To
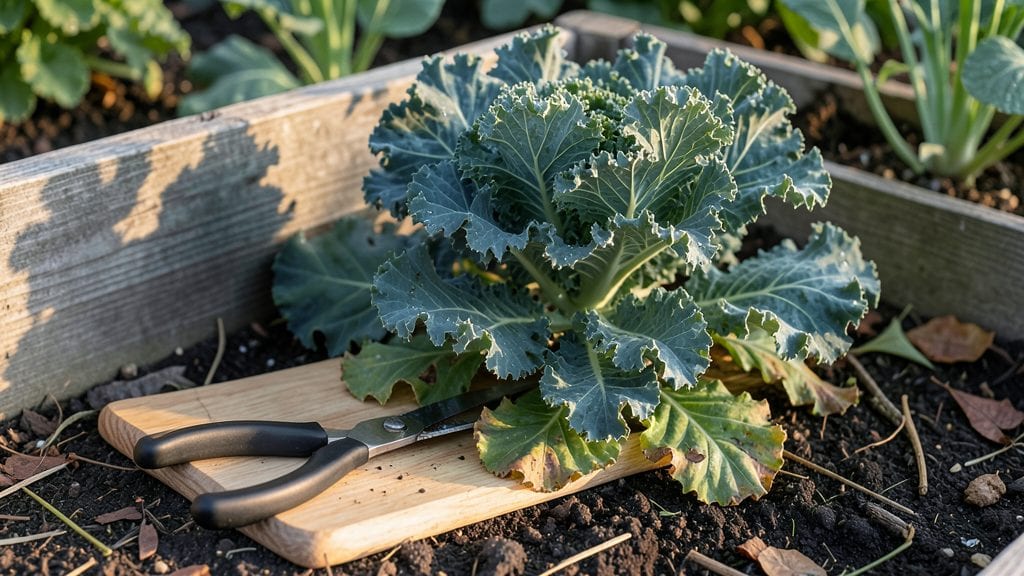
Picking kale from your garden at the right moment turns a simple harvest into a flavor-packed feast—but timing matters more than you might think.
Harvesting kale at the wrong stage means tough, bitter leaves that ruin salads and stir-fries, no matter how fresh they look. The secret? Watching for three key signs that tell you when the leaves are crisp, vibrant, and ready.
In Zone 6a, spring-planted kale 🥬 hits its sweet spot between May and October, while fall crops shine from October through December. I’ll show you exactly how to spot mature leaves, cut them without harming the plant, and keep your garden producing for months.
By the end, you’ll know the best tools to use, when to harvest for regrowth, and how to store your bounty so it stays fresh longer—no more wasted leaves or guesswork.
3 Key signs your kale is ready for harvesting (with visual guide)
Knowing when to harvest your kale makes all the difference between crisp, flavorful leaves and tough, bitter ones. The 3 key signs of maturity—leaf size, stem thickness, and color vibrancy—are often overlooked by even experienced gardeners.
Master these cues to ensure your harvest delivers the best texture and taste for salads, sautés, or smoothies.
Immaturity or overmaturity can ruin your kale’s quality. Underripe leaves are too tender, while overmature kale becomes fibrous and bitter. The sweet spot? When your plants show all three maturity indicators simultaneously.
This visual guide will help you spot the perfect moment to harvest, so you never miss peak flavor again.
Comparison Table: Immature vs. Ready vs. Overmature Kale
The first sign to watch for is leaf size. Ready-to-harvest kale leaves should measure between 6-8 inches long. If your leaves are smaller than a soda can (about 4 inches), they’re not mature enough yet.
Overlooking this can lead to underdeveloped flavors, so always check the outer leaves first—they’re the oldest and most mature.
Stem thickness is another critical indicator. When your kale’s stems feel thick and sturdy (about the diameter of a pencil), it’s time to harvest. Thin stems signal immaturity, while overly thick, woody stems mean your kale has passed its prime. Run your thumb along the stem—if it bends easily, it’s not ready yet.
Finally, pay attention to color vibrancy. Deep, rich hues—whether emerald green, purple, or reddish tones—are a surefire sign of maturity. Pale or yellowing leaves mean your kale is either struggling or overripe.
For varieties like Lacinato (Dinosaur Kale) or Red Russian, the color should be consistent across the entire leaf.
Pro tip: Harvest outer leaves first to encourage regrowth. This method lets you enjoy multiple harvests from a single plant, extending your kale’s productivity by up to 6-8 weeks. Always use a clean, sharp pair of scissors or pruners to avoid damaging the plant or spreading disease.
Timing matters too. Morning harvests yield the crispest leaves, as evening heat can cause wilting. If you’re growing fall kale, aim to harvest before the first frost hits—October 15 in most USDA Zone 6a regions. For spring plantings, harvest between May and October for the best flavor.
One common mistake is waiting too long for giant leaves. While oversized kale might look impressive, it often sacrifices flavor for size. Bitter compounds develop as leaves mature beyond their prime, so resist the urge to let them grow past 8-10 inches.
Instead, focus on consistent, smaller harvests for the best results.
Now that you’ve mastered the 3 key signs, you’re ready to harvest kale like a pro. Keep an eye out for these visual cues, and your garden will reward you with crisp, flavorful leaves all season long. Happy harvesting! 🥬
Best practices for harvesting kale without damaging the plant
Harvesting kale properly keeps your plants thriving while ensuring you get the tastiest, crispest leaves. The key is to use the right cutting techniques and timing to avoid stressing the plant. Unlike many vegetables, kale can regrow after harvest, making it a continuous producer if cared for correctly.
I’ve learned that even a small mistake in cutting can lead to stunted growth or bitter flavors.
Start by selecting the outer leaves first—this is crucial because it allows the inner leaves to keep growing. Use a sharp pruning shears or knife to make clean cuts, about 1 inch above the stem.
This prevents tearing and helps the plant heal faster. Avoid pulling leaves, as this can damage the stem and root system and may even uproot young plants.
How to Pick Kale From Garden
- Step 1: Choose the Right Leaves Select outer leaves that are 6-8 inches long and fully mature. Look for deep color and firm texture.
- Step 2: Use Sharp Tools Grab a clean, sharp knife or pruning shears to avoid tearing. Dull tools crush stems and invite pests and disease.
- Step 3: Cut at the Base Make a diagonal cut about 1 inch above the stem. This prevents water from pooling and reduces rot risk.
- Step 4: Leave Inner Leaves Intact Never remove more than 1/3 of the plant at once. This ensures the center leaves keep growing for future harvests.
- Step 5: Harvest in the Morning Pick leaves when they’re cool and crisp, typically between 8 AM and 10 AM. This preserves flavor and texture.
- Step 6: Water and Fertilize After Give your kale a deep watering and a light fertilizer dose (like 5-10-10) to encourage regrowth.
Timing your harvest is just as important as how you cut. Aim to pick kale in the early morning when leaves are at their peak crispness. Harvesting in the late afternoon or evening can lead to wilted leaves, especially in hot climates.
I’ve noticed that kale harvested after a light rain tends to be juicier, but always wait until leaves are dry to avoid fungal issues.
Seasonal considerations play a big role in kale’s regrowth. In spring and fall, when temperatures are mild, your kale will bounce back quickly after harvest. However, during hot summers, the plant may need extra care—like shade cloth and consistent watering—to recover.
I’ve found that fall harvests often yield the sweetest kale, as cooler nights boost sugar content.
If you’re planning for a continuous harvest, space out your cuts every 1-2 weeks to give the plant time to recover. Over-harvesting can stress the plant, leading to yellowing leaves or even death.
Always monitor the plant’s health post-harvest: if new leaves aren’t forming within 2-3 weeks, it might need more sunlight, water, or nutrients.
Pro tip: Save the stems and tougher leaves for smoothies or soups instead of discarding them. Even the smaller, less perfect leaves can be blanched and frozen for later use. This reduces waste and maximizes your garden’s output!