Landscaping
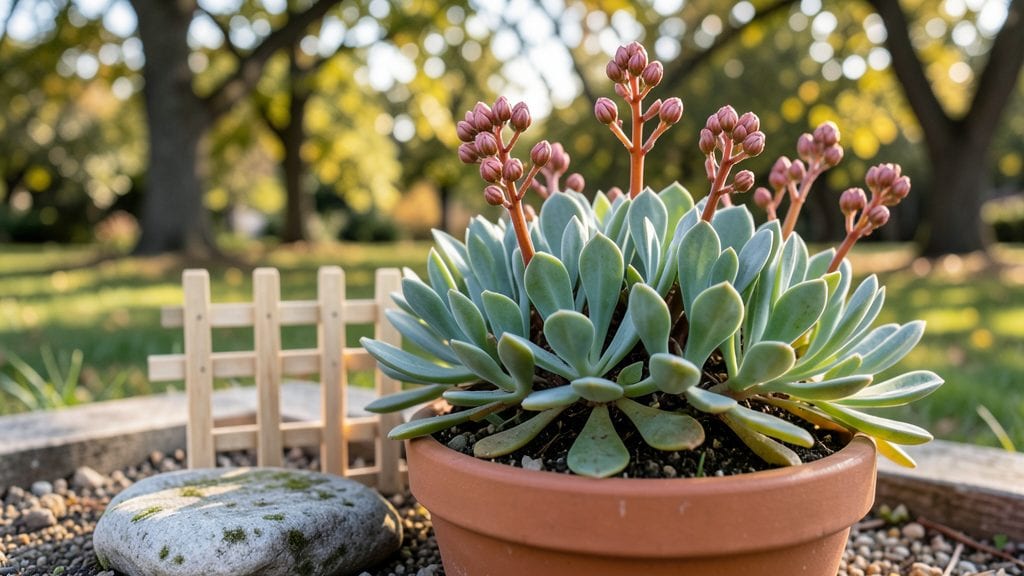
Mastering the art of small garden landscaping turns even the tiniest backyard into a vibrant, purposeful retreat—where clever design replaces compromise. I've turned my 10-by-12-foot garden into a vibrant retreat by stacking plants vertically, using every inch of wall and fence space.
The key isn't just adding plants; it's creating layers that make the area feel bigger while packing in more greenery than you'd expect.
Start with a vertical garden system—whether it's wall-mounted pockets, hanging planters, or trellises for climbing vines. Pair that with multi-level pathways (like stepping stones or gravel) to guide movement and add visual interest without stealing square footage.
Choose plants with varying heights: tall grasses or small trees at the back, mid-height shrubs, and trailing vines or ground covers in front. This creates depth instantly, even in tight spaces.
Color coordination is where small gardens shine. Stick to a 3-color palette—one dominant hue (like soft greens or blues), one accent (bright blooms or foliage), and one neutral (white or gray pots). It keeps the look cohesive without overwhelming the space.
Add reflective surfaces—mirrors, polished stone, or even a sleek water feature—to make the area feel more open. Before you know it, your tiny garden will look like a curated sanctuary, not a cramped afterthought.
Budget-friendly doesn't mean boring. Use reclaimed wood for raised beds, recycled containers for vertical gardens, and native plants that thrive with minimal care. Low-maintenance hardscaping—like gravel or pavers—cuts down on upkeep while adding structure.
The best part? Every element serves a purpose, whether it's shade, privacy, or just a spot to relax. Now, let's get designing!
📚 In This Guide
- What you need
- Instructions
- Tips and common mistakes
- Wrapping up and next steps
What you need
- ● Vertical Planters: 2–4 (depending on space; 12"–18" deep, 6"–12" wide). Opt for lightweight materials like fabric grow bags or wooden crates.
- ● Potting Soil: 5–10 gallons of high-quality, well-draining mix (e.g., 60% potting soil, 30% perlite, 10% compost).
- ● Plants: 3–5 compact shrubs (e.g., dwarf boxwood, creeping fig).
- ● 5–10 trailing plants (e.g., ferns, ivy, or petunias).
- ● 2–3 edible herbs (e.g., basil, thyme, or mint—great for small spaces!).
- ● Mounting Hardware: L-brackets or wall anchors (for heavy planters).
- ● Screws (3/8"–1/2" stainless steel, corrosion-resistant).
- ● Drill & masonry bits (if mounting to brick/concrete).
- ○ Decorative Touches (Optional): Solar-powered lights (for ambiance).
- ● Small pebbles or mulch (to retain moisture).
- ● Paint or stain (to match planters to your garden’s aesthetic).
- ● Sunlight Assessment: Note which areas get full sun (6+ hrs), partial shade (3–6 hrs), or full shade—this dictates plant choices!
- ● Wall/Surface Prep: Ensure mounting surfaces are clean, dry, and free of cracks. For renters, use removable adhesive strips or lightweight planters.
- ● Budget: Allocate $50–$200 depending on materials (DIY crates vs. pre-made planters).
Step-by-Step instructions for creating vertical layers in small garden landscapes
Transform limited space into a lush, multi-dimensional garden using strategic vertical layering.
Assess Your Space and Define Vertical Zones
Start by measuring your garden's height, width, and depth—this determines your vertical potential. I like to sketch a rough outline on graph paper, marking walls, fences, and existing structures as potential vertical supports. For example, a 6-foot-tall fence can easily accommodate three distinct layers: a top tier for vines, a mid-height shrub layer, and ground-level perennials. Take note of sunlight patterns throughout the day; the north side of a structure will receive less light than the south, which affects plant selection for each vertical zone.
Next, identify structural elements like trellises, arbors, or even hanging planters. If you lack built-in vertical space, consider installing wall-mounted planters or freestanding frames. The key here is maximizing every inch—even a 4-foot-wide wall can support a cascading plant arrangement with proper planning. Use a measuring tape to map out where each plant will thrive based on its mature height and spread.
Select Plants for Each Vertical Layer
Choose plants that complement each other in height, texture, and growth habit to create visual depth. For the top layer, opt for climbing plants like clematis, jasmine, or morning glories, which will trail or climb upward. These need sturdy support, so ensure your trellis or lattice can handle their weight as they mature. In the middle layer, incorporate shrubs or small trees such as dwarf lilacs, abelia, or ornamental cherries, which add structure and seasonal interest with flowers or foliage.
For the bottom layer, select ground covers or low-growing perennials like heuchera, ajuga, or creeping thyme to fill in gaps and prevent weeds. These plants should thrive in the soil conditions of your garden while providing contrast in color and texture. If you’re working with a small balcony or rooftop garden, prioritize compact varieties of herbs, succulents, or trailing plants that won’t overpower the space. Always check the mature height of each plant to avoid overcrowding as they grow.
Install Support Structures and Prepare Planting Areas
Begin by installing any necessary support structures, such as trellises, obelisks, or wall-mounted planters. For freestanding structures, use galvanized metal stakes or heavy-duty brackets to secure them firmly into the ground or wall. If you’re using a trellis, position it so the base is 12-18 inches from the wall or fence to allow airflow and prevent moisture buildup, which can lead to fungal issues. For wall-mounted planters, ensure they’re securely fastened to avoid shifting in wind or heavy rain.
Prepare the planting areas by loosening the soil to a depth of 6-8 inches to encourage root growth. Amend the soil with compost or organic matter if it’s heavy clay or sandy, as this improves drainage and nutrient retention. For container gardens, use a well-draining potting mix to prevent root rot. If you’re planting directly into the ground, consider adding a layer of mulch after planting to retain moisture and suppress weeds. This is especially important in small gardens where every square inch counts.
Plant and Train for Vertical Growth
Plant your selected species according to their specific needs, ensuring each has enough space to grow without competing for resources. For climbing plants, gently tie the stems to the trellis or support structure using soft plant ties or twine to encourage upward growth. Avoid wrapping the ties too tightly, as this can restrict growth and damage the stems. As the plants mature, continue to guide them along the support, pruning any leggy or overcrowded growth to maintain a neat appearance.
For shrubs and perennials, space them according to their mature width—typically 18-24 inches apart for most species. Water deeply after planting to settle the soil and encourage root establishment. In the first 2-3 weeks, monitor the plants closely for signs of stress, such as wilting or yellowing leaves, and adjust watering as needed. If you’re using hanging baskets or vertical planters, ensure they’re placed where they’ll receive the appropriate amount of sunlight and are easily accessible for maintenance.
Maintain and Prune for Long-Term Impact
Regular maintenance is key to keeping your vertical garden thriving. Prune climbing plants seasonally to control their growth and encourage bushier foliage. For example, cut back leggy stems in early spring to promote new growth, and trim spent flowers to encourage continuous blooming. Shrubs and perennials should be pruned after their flowering period to maintain their shape and prevent overcrowding. Use clean, sharp pruners to make precise cuts just above a leaf node or bud to encourage healthy regrowth.
Fertilize your vertical garden 2-3 times per year with a balanced, slow-release fertilizer to provide essential nutrients without overfeeding. In small gardens, mulch annually to retain moisture and suppress weeds, which can quickly take over limited space. Finally, keep an eye out for pests or diseases, addressing them promptly before they spread. With consistent care, your vertical layers will create a lush, dynamic garden that maximizes every inch of space while adding beauty and functionality.
Tips & tricks for perfect small garden landscaping
A few strategic approaches will help you transform even the smallest garden into a vibrant vertical masterpiece.
Space Assessment Precision: When measuring your garden's height and width in Step 1, consider using a laser measuring tool for accuracy—especially when working with tall fences or walls. I've found that even a 1-inch error can affect plant spacing in tight areas. For example, a 6-foot fence might actually measure 6 feet 2 inches, which could impact your top-tier vine selection. Sketching your space to scale on graph paper helps visualize how different plant heights will interact before you make purchases.
Support Structure Stability: In Step 3, don't overlook the importance of securing freestanding trellises and frames. I recommend using galvanized metal stakes that are at least 12 inches long for ground installation—they provide better anchorage than shorter stakes. For wall-mounted planters, use heavy-duty brackets designed for outdoor use and test their weight capacity before planting. The last thing you want is a cascading plant arrangement collapsing during a windstorm, especially when working with limited space.
Plant Selection Strategy: When choosing plants for each vertical layer in Step 2, consider their mature spread as much as their height. For instance, clematis vines can spread 6-8 feet horizontally, so you'll need to space them accordingly even if they're climbing upward. I always check the plant tag or nursery information for both height and spread measurements—this prevents overcrowding that can lead to fungal issues from poor airflow. For small balconies, opt for compact varieties like 'Jackman' clematis, which stays under 6 feet in height and spread.
Maintenance Efficiency: In Step 5, establish a seasonal pruning schedule right from the start. I recommend marking your calendar with reminders for early spring pruning of climbing plants and post-flowering pruning for shrubs. This prevents the overwhelming task of catching up on maintenance later. For vertical gardens, I find that using a small step stool or adjustable-height pruners makes reaching all layers easier without straining your back—especially important when working with limited space where every movement counts.
Pro Tips for Small Garden Landscaping
- A few strategic approaches will help you transform even the smallest garden into a vibrant vertical masterpiece.
- Space Assessment Precision: When measuring your garden's height and width in Step 1, consider using a laser measuring tool for accuracy—especially when working with tall fences or walls.
- Support Structure Stability: In Step 3, don't overlook the importance of securing freestanding trellises and frames.
Frequently asked questions
What are the best plants for a small garden with limited sunlight?
Opt for shade-tolerant plants like hostas, heucheras, or ferns. If you have dappled light, try astilbes or bleeding hearts. For vertical spaces, ivy or pothos thrive in low light while adding greenery. Succulents like sedum also work well in containers if sunlight is sparse!
How long does it take to see results in a small garden redesign?
Quick wins like container gardens or vertical planters show impact in weeks! Perennials may take 1–2 seasons to fully bloom, while annuals deliver instant color. Mulching and edging instantly tidy up the space. Patience pays off—layering plants ensures year-round interest.
Can I landscape a small garden on a budget?
Start with DIY projects like building pallet planters or upcycling materials. Shop for discounted plants at sales or swap with neighbors. Focus on multi-functional elements, like a bench that doubles as storage. Even small upgrades—like pebbles for pathways—boost curb appeal affordably.
What’s the best time of year to plant in a small garden?
Spring and fall are ideal for most plants, as mild temps reduce stress. Bulbs go in fall, while annuals thrive in spring. Perennials planted in early spring establish roots before summer heat. Herbs and veggies love warm soil—wait until after the last frost for those!
How do I fix a small garden that looks cluttered?
Declutter by removing dead plants and overgrown weeds. Edit your plant selection—keep only the healthiest, most versatile species. Add vertical structures (like trellises) to lift plants off the ground. Define zones with pathways or raised beds to create visual order. A fresh coat of mulch ties it all together!
Wrapping up and next steps
Transforming a small garden into a stunning outdoor space is all about thinking vertically and maximizing every inch! By layering plants, adding functional features, and choosing the right materials, you can create a lush, inviting retreat—no matter the size.
The key is to plan smart, start small, and let your creativity shine.
Ready to dive in? Pick one project—whether it’s a vertical garden, a cozy seating nook, or a sleek trellis—and make it happen! Your tiny garden deserves a big personality, and you’ve got all the tools to bring it to life. Happy planting! 🌱✨