Fertilization
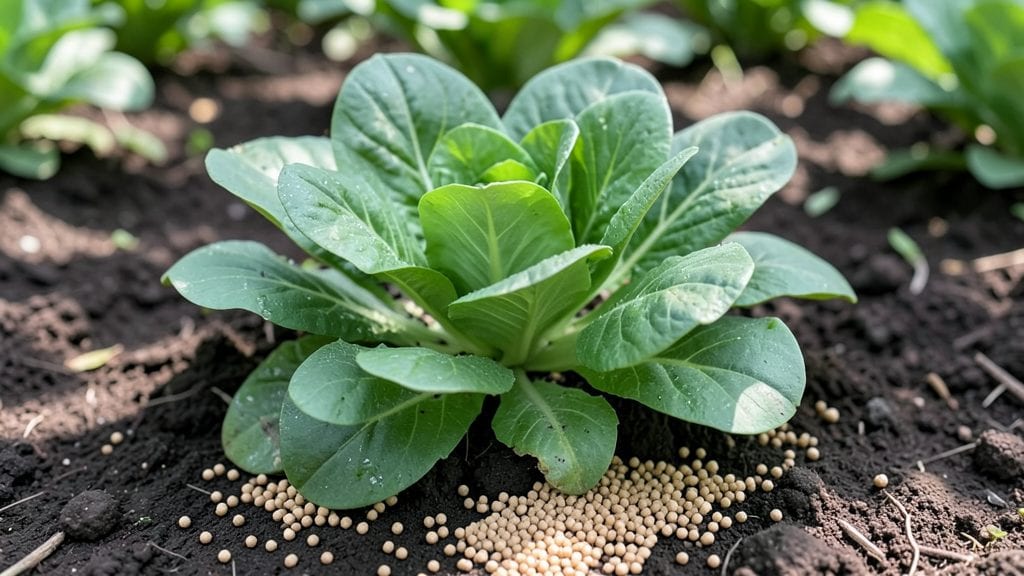
Fertilizing garden plants isn't just about throwing down bags of chemicals—it's the secret to shockingly lush growth that actually produces food. 🌱 I learned this the hard way after my tomatoes looked green but tasteless, despite plenty of water.
The right fertilizer at the right time transforms floppy stems into sturdy plants bursting with flavor.
You don't need a PhD in chemistry—just three basics: nitrogen for leafy growth, phosphorus for roots and flowers, and potassium for overall vigor. Organic options like compost or fish emulsion work slowly but build soil health, while synthetic fertilizers deliver quick results.
My go-to? A balanced 10-10-10 mix for general feeding, with extra phosphorus when planting new crops.
Within weeks, you'll notice deeper green leaves, stronger stems that don't flop in rain, and plants that actually fight off pests better. The key is timing: feed when plants are actively growing, not during dormancy.
Too much too soon? You'll get burned leaves and wasted money. Too little? Plants will beg for nutrients with yellowing leaves or stunted growth.
This works for vegetables, flowers, and even fruit trees—just adjust ratios based on what you're growing. Beginners should start with organic options to avoid overdoing it, while experienced gardeners can experiment with micronutrient blends. Let's get those plants eating right!
📚 In This Guide
- What you need
- Instructions
- Tips and common mistakes
- Wrapping up and next steps
What you need
- ● Fertilizer: Granular fertilizer (e.g., 10-10-10 or 20-20-20 NPK ratio) – 1-2 lbs per 100 sq ft
- ● Liquid fertilizer (e.g., fish emulsion or seaweed extract) – 1-2 tbsp per gallon of water
- ● Slow-release organic fertilizer (e.g., composted manure or worm castings) – 2-3 cups per plant
- ● Soil amendments: Compost – 1-2 inches mixed into topsoil
- ● Peat moss or coconut coir (for moisture retention) – 1 part per 3 parts soil
- ● Garden gloves – 1 pair (for protection)
- ● Hand trowel or garden fork – 1 (for mixing soil)
- ● Watering can or hose with spray nozzle – 1 (for liquid fertilizers)
- ● Measuring scoop or scale – 1 (for precise fertilizer amounts)
- ○ pH test kit (optional but helpful) – 1 (to check soil acidity)
- ○ Garden sprayer (optional) – 1 (for foliar feeding)
- ● Know your plants’ needs – Check labels or research specific nutrient requirements (e.g., nitrogen for leafy greens, phosphorus for blooms).
- ● Healthy soil – Test or observe for compacted, waterlogged, or nutrient-deficient soil before fertilizing.
- ● Water source – Access to clean water for diluting liquid fertilizers.
- ● Sunlight & timing – Fertilize in early morning or late evening to avoid burning plants in direct sun.
Step-by-Step guide to fertilizing garden plants for maximum growth
Here’s how to feed your garden the right way—no guesswork, just science-backed results.
🌱 Step 1: Test Your Soil First
Before adding any fertilizer, grab a soil test kit to check pH and nutrient levels. Most garden centers sell affordable kits, or send a sample to your local extension office for a detailed report. I’ve found that 6.0-7.0 pH works best for most vegetables and flowers, but acid-loving plants like blueberries need 4.5-5.5.
If your soil is deficient in key nutrients, the test will tell you exactly what to supplement. For example, yellowing leaves often mean nitrogen deficiency, while purple stems signal phosphorus needs. This step saves you money by avoiding over-fertilization—something I’ve regretted doing more than once.
💧 Step 2: Choose the Right Fertilizer Type
Not all fertilizers are created equal. For fast growth, use a balanced fertilizer (10-10-10 or 20-20-20)—the numbers represent nitrogen, phosphorus, and potassium. For flowering plants, opt for a phosphorus-heavy formula like 5-10-10. Organic options such as compost or worm castings release nutrients slowly and improve soil structure over time.
I like to rotate between synthetic and organic fertilizers. Synthetics give an immediate boost, while organics build long-term soil health. Always follow the label’s recommended application rate—overdoing it burns roots and can harm plants. For example, a 10-10-10 fertilizer means 1 tablespoon per gallon of water for most plants.
✂️ Step 3: Apply Fertilizer at the Right Time
Timing matters just as much as what you use. For vegetables and leafy greens, apply fertilizer when you plant and again 4-6 weeks later. For flowering plants, fertilize when buds form. Avoid fertilizing during drought or extreme heat—plants won’t absorb nutrients efficiently, and you’ll waste product.
I’ve learned the hard way that fertilizing too late in the season can lead to tender new growth that won’t survive frost. Always stop fertilizing 6-8 weeks before your first expected frost date. This gives plants time to harden off naturally. For container plants, fertilize every 2-4 weeks during the growing season.
☀️ Step 4: Water Properly After Fertilizing
After applying fertilizer, water deeply to help nutrients penetrate the soil. A slow, deep watering (about 1 inch of water) ensures nutrients reach the root zone. I use a soaker hose for this because it delivers water directly to the soil without wetting the leaves, which can cause fertilizer burn.
Watch for signs of overwatering, like yellowing leaves or wilting, which can happen if you fertilize and water too heavily. The goal is to keep the soil moist but not soggy. If you’re using granular fertilizer, water again 24 hours later to activate it fully. For liquid fertilizers, mix them into the watering can for instant absorption.
🌿 Step 5: Monitor and Adjust
Keep an eye on your plants after fertilizing. Healthy growth looks like dark green leaves, strong stems, and abundant blooms or fruit. If you notice burnt leaf edges or stunted growth, you’ve overdone it—flush the soil with water to dilute excess nutrients.
I like to take notes on what works best for each plant. For instance, tomatoes respond well to a high-potassium fertilizer in their final growth stage, while peppers thrive with a balanced feed** throughout the season. Adjust your approach based on what you observe—every garden is unique!
Tips & tricks for perfect garden fertilizing
These science-backed tips will help you avoid common mistakes and get the most out of your garden's nutrient boost.
The Soil Test Secret: Don't just test your soil once—re-test after 3-4 months of fertilizing. I've seen pH levels shift unexpectedly, especially in clay soils. The 6.0-7.0 pH range mentioned in Step 1 is ideal for most plants, but some vegetables like carrots actually prefer slightly acidic soil around 5.5-6.5. Adjust with lime to raise pH or sulfur to lower it if needed.
Fertilizer Application Technique: For granular fertilizers, use the "shaker method" from Step 2 by spreading evenly in a grid pattern rather than piling in one spot. This ensures even distribution. For liquid fertilizers, I like to dilute them to half-strength for the first application—this helps plants acclimate. Always follow the label's recommended application rate, but remember that less is often more—over-fertilizing can burn roots.
Timing Is Everything: The 4-6 week interval mentioned for vegetables works perfectly, but I've found that container plants often need more frequent feeding—every 2-3 weeks during active growth. For flowering plants, fertilize when buds form but stop when flowers open to encourage blooming rather than leafy growth. And remember that 6-8 weeks before frost is critical—this gives plants time to harden off naturally before winter.
Watering Wisdom: That 1 inch of water after fertilizing in Step 4 is crucial, but timing matters too. Water in the morning so leaves have time to dry before evening—this prevents fungal issues. For granular fertilizers, the 24-hour activation watering is key. I like to set a reminder on my phone to water again the next day to ensure full nutrient absorption.
Pro Tips for Fertilizing Garden Plants
- These science-backed tips will help you avoid common mistakes and get the most out of your garden's nutrient boost.
- The Soil Test Secret: Don't just test your soil once—re-test after 3-4 months of fertilizing.
- Fertilizer Application Technique: For granular fertilizers, use the "shaker method" from Step 2 by spreading evenly in a grid pattern rather than piling in one spot.
Frequently asked questions
Got questions about fertilizing your garden plants?
You’re not alone! Here are some of the most common concerns—and science-backed answers—to help you grow like a pro.
When is the best time to fertilize garden plants?
Timing matters! Apply slow-release fertilizers in early spring (before active growth) and liquid feeds every 4–6 weeks during the growing season. Avoid fertilizing late in the season—it can encourage tender new growth that won’t survive frost. Pro tip: Test soil first to avoid overdoing it!
Can I use coffee grounds or egg shells as fertilizer?
Coffee grounds add nitrogen (great for compost) and eggshells provide calcium, but they’re supplements, not replacements. For balanced nutrition, pair them with a complete fertilizer. Warning: Too much coffee grounds can acidify soil—use sparingly.
Why are my plants burning after fertilizing?
Fertilizer burn happens when salt concentrations overwhelm roots. Dilute liquid fertilizers to half-strength or water soil thoroughly before applying. Slow-release granules are gentler—sprinkle them on moist soil and water lightly. Fix it fast: Flush soil with water and hold off on fertilizing for 2 weeks.
Do organic fertilizers work as well as synthetic ones?
Both work—just differently! Organic fertilizers (like compost or manure) improve soil long-term, while synthetic fertilizers deliver immediate, precise nutrients. For best results, combine both: Use synthetic for fast fixes (e.g., blooming plants) and organic for soil health.
How often should I fertilize vegetables vs. flowers?
| Plant Type | Frequency | Best Fertilizer Type |
|---|---|---|
| Vegetables (tomatoes, peppers, etc.) | Every 2–3 weeks during growing season | Balanced (10-10-10) or high-nitrogen (for leafy greens) |
| Flowers (roses, petunias, etc.) | Every 4–6 weeks (less is more!) | Phosphorus-rich (5-10-10) for blooms |
Wrapping up and next steps
Fertilizing your garden isn’t just guesswork—it’s a science-backed way to unlock vibrant blooms, bountiful harvests, and healthier plants! 🌱 By understanding your soil’s needs, choosing the right nutrients, and applying fertilizers smartly, you’re giving your garden the best chance to thrive.
Whether you’re a beginner or a seasoned green thumb, small, consistent efforts lead to big rewards.
Ready to see your garden flourish? Start by testing your soil this season and experiment with one new technique—your plants will thank you! 🌿