Picking
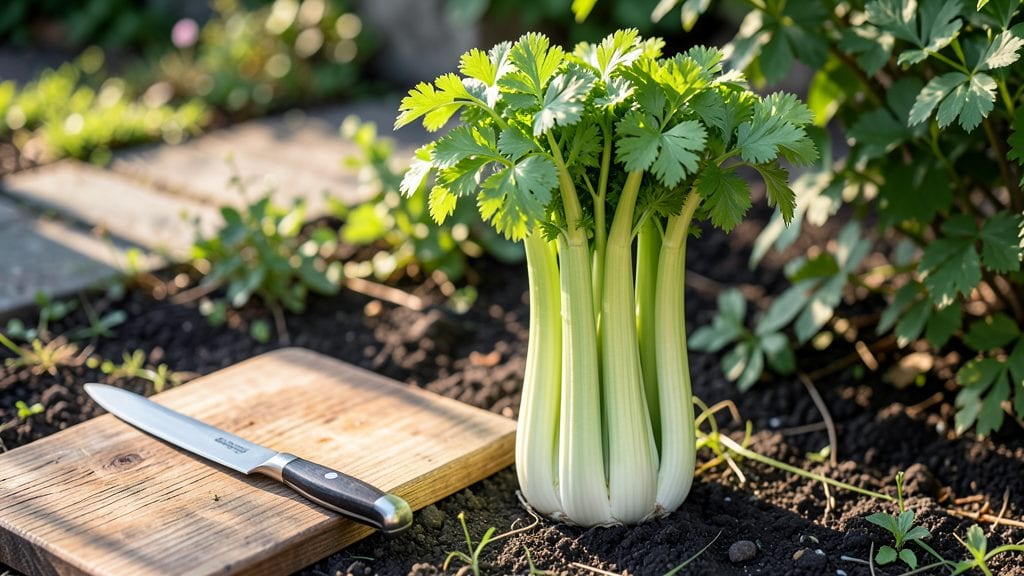
Harvesting garden celery at the right time means the difference between crisp, vibrant stalks 🥬 and tough, bitter disappointment.
Picture this: you’ve nurtured your celery for months, only to pull a stalk that snaps like a dry twig or tastes disappointingly bland. That’s what happens when you miss the perfect window—usually between 120 and 150 days after planting—or ignore the plant’s subtle signals.
In Zone 6a, that means timing your harvest for late June or October, when stalks reach 12–18 inches and leaves stay dark green and crisp. Too early, and you’re left with thin, watery stems; too late, and the plant bolts, turning bitter.
Below, I’ll walk you through the exact visual cues to watch for, the best cutting techniques to keep your celery producing, and how to store what you pick so it stays fresh for weeks—not days.
When to harvest garden celery for peak flavor and texture
Timing your garden celery harvest is everything—picking too early means tough, underdeveloped stalks, while waiting too long risks bolting or woody texture. The sweet spot is when your plants hit 120-150 days from seed, but visual cues matter more than calendar dates.
I’ve learned the hard way that ignoring these signs leads to bitter, stringy celery that’s barely edible.
Celery thrives in cool weather, so your harvest window depends on planting time. Spring-planted varieties typically reach maturity in June-July, while fall crops are ready by October-November. Pay attention to your local USDA zone—celery in Zone 6a, like mine, needs those cooler months to develop properly.
Here’s the game-changer: your celery is ready when stalks reach 12-18 inches tall with tightly packed, dark green leaves. The outer leaves should show slight yellowing at the edges—a sign of maturity. If you harvest at this stage, you’ll get the crispest, most flavorful stalks with minimal stringiness.
I once picked my celery too early because the stalks looked "big enough," but they were still woody and bland. The lesson? Wait until the inner stalks are thick and firm to the touch.
A gentle squeeze should feel solid, not hollow or spongy. This texture is your best indicator of peak flavor.
Watch out for overgrowth—celery left too long in the ground becomes tough and pithy. The longer you wait past maturity, the more the central stalks harden, making them less enjoyable to eat.
Even worse, hot weather can trigger bolting, causing your celery to send up flower stalks, ruining both texture and taste.
Another pro tip: harvest on a cool morning after light watering. This keeps the stalks crisp and makes cutting easier. Avoid harvesting during heatwaves or after heavy rain, as both conditions stress the plant and reduce quality.
For multiple harvests, cut the outer stalks first, leaving the inner core intact. This encourages regrowth, giving you a second chance at a smaller harvest. Just be sure to leave at least 3-4 inches of stalk to prevent damaging the plant’s growth point.
Now, let’s talk about the don’ts. Never harvest when leaves are pale or wilting—this signals stress, often from underwatering or nutrient deficiency. Thin, sparse stalks also mean it’s too soon. And if your celery tastes bitter? You likely waited too long or didn’t provide enough consistent moisture.
Here’s a quick reference to keep in your gardening journal for next season:
| Harvest Cue | Description | Action |
|---|---|---|
| Days to Maturity | 120-150 days from seed | Check variety-specific guidelines |
| Stalk Height | 12-18 inches tall | Measure from soil level |
| Leaf Color | Dark green, crisp leaves | Outer leaves may yellow slightly |
| Stalk Thickness | Thick, firm, and tightly packed | Gently squeeze to test firmness |
| Avoid Bolting | No flower stalks forming | Harvest before heat stress triggers bolting |
| Best Time of Day | Cool morning after light watering | Prevents wilting and ensures crispness |
| Regrowth Potential | Leave 3-4 inches of stalk | Encourages second harvest |
If you’re growing celery varieties like Utah or Tango, they’re known for their crispness and sweetness when harvested at the right time. These types are perfect for beginners because they’re more forgiving with timing. Just remember: consistency in watering and partial shade are key to avoiding bitter flavors.
One final tip: keep a small notebook by your garden. Jot down when you plant, when you see the first signs of maturity, and when you actually harvest. Over time, you’ll spot patterns in your local climate that help you predict the perfect harvest window even better.
Trust me, your future self will thank you for the crisp, flavorful celery you’ll enjoy all season long!
Step-by-step guide to picking celery without damaging the plant
Harvesting your homegrown celery correctly ensures crisp stalks and encourages regrowth for multiple harvests. The wrong technique can stress the plant, leading to bitter flavor or even death. I’ve learned that using the right tools and methods makes all the difference in preserving both your plant and your yield.
Celery is unique because it can regrow after harvesting, but only if you cut it properly. Unlike other vegetables, you shouldn’t sever the stalks at the base—this kills the plant. Instead, focus on selective cutting that leaves the core intact. Here’s how to do it without causing damage.
How to Harvest Celery Properly
-
Step 1: Choose the Right Tools
Use a sharp chef’s knife or pruning shears for clean cuts. Avoid dull tools—they crush stalks, causing browning and inviting pests. -
Step 2: Identify Mature Stalks
Pick stalks that are 12-18 inches tall, thick and firm, and have dark green leaves. Avoid cutting the innermost stalks first—they’re the last to mature. -
Step 3: Cut at a 45-Degree Angle
Hold the stalk firmly and cut 1-2 inches above the base, leaving the central core intact. This prevents damaging the plant’s growth point. -
Step 4: Avoid Hand-Twisting
Twisting stalks can crush the core and introduce bacterial rot. Always use a clean, sharp blade for the cleanest harvest. -
Step 5: Leave 2-3 Outer Stalks
Never remove more than half the stalks at once. Leaving 2-3 outer stalks ensures the plant continues photosynthesizing and regrowing. -
Step 6: Water Immediately After
Give the plant 1 inch of water post-harvest to recover. This reduces stress and encourages faster regrowth for your next harvest.
One mistake I made early on was cutting too close to the base, thinking it would encourage bushier growth. Instead, it weakened the plant and stunted future harvests. Always prioritize leaving the central core untouched—this is the key to multiple harvests.
After harvesting, store your celery in the crisper drawer of your fridge, wrapped in a damp paper towel. This keeps it crisp for up to 2 weeks. If your plant regrows well, you can expect 2-3 harvests per season from a single planting!
Pro tip: If your celery bolts (sends up a flower stalk), it’s past its prime. Bolted celery becomes woody and bitter, so harvest before this happens. With the right technique, you’ll enjoy fresh, homegrown celery all season long.